SangeerthanaSept. 26, 2024
The Kiosk Mode in Odoo 17 is a feature commonly used in HR attendance and manufacturing modules. It allows employees or users to interact with Odoo via a simplified interface, often for time tracking, job allocation, or similar activities.A kiosk is a dedicated device (a PC, tablet, or mobile phone) for employees to use when they check in and out.Kiosks are needed for employees who do not have access to the database.Only employees with access to the database can check in and out from the Attendances app, and they are referred to as users.
Odoo implementation company services often involve setting up features like Kiosk Mode for clients in various industries. The setup process is straightforward and ensures that businesses can streamline their attendance tracking systems efficiently.
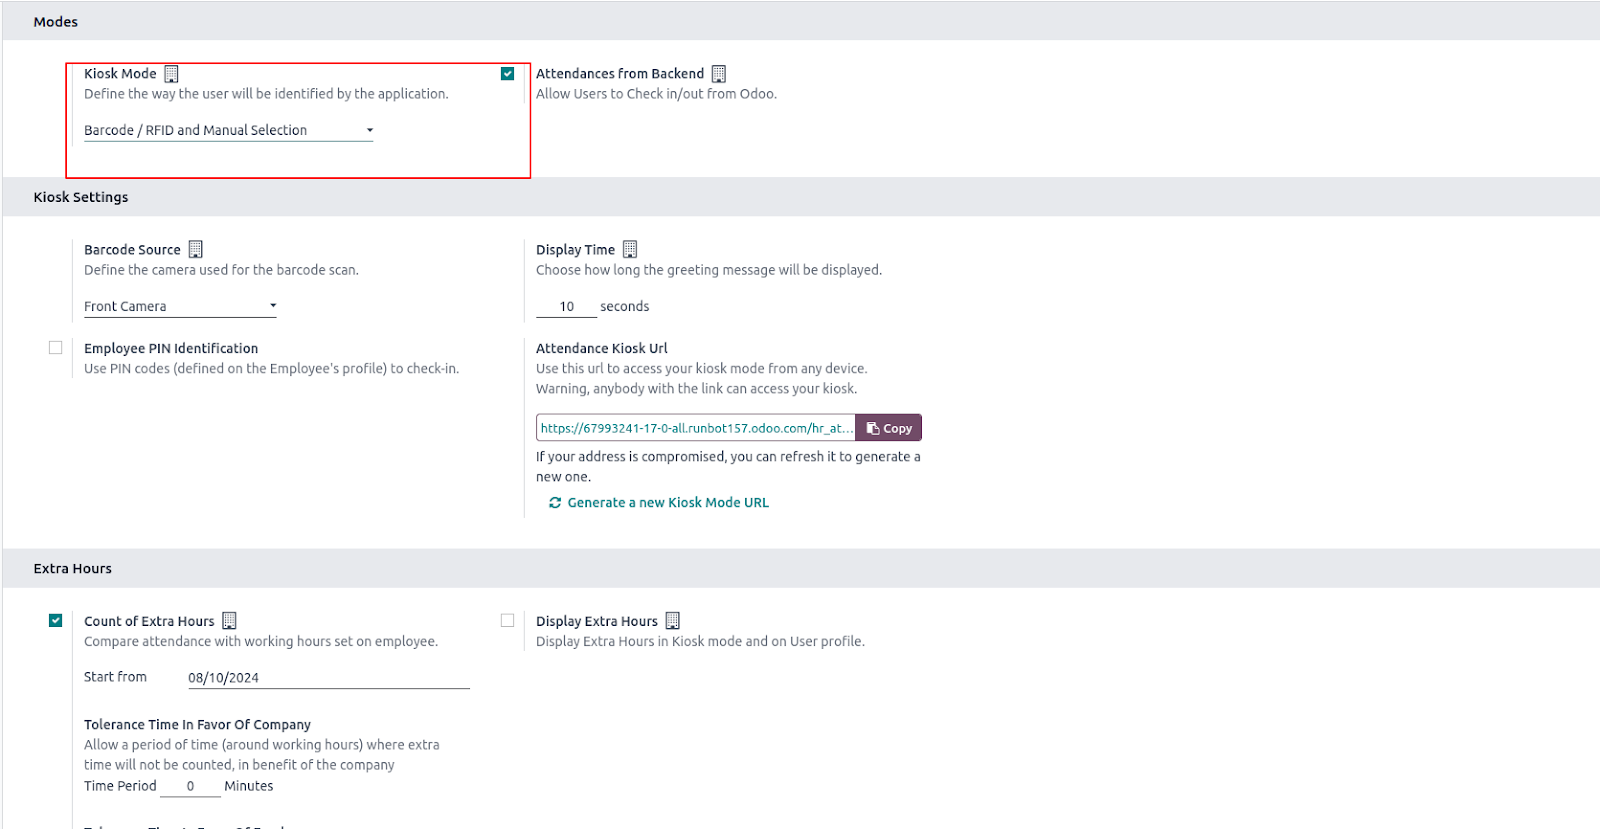
There are only a few configurations needed to use kiosks in the Attendances application. Navigate to Attendances app ‣ Configuration to access the Settings page to configure the Kiosk Mode section and the Kiosk Settings section.
Using the drop-down menu, select how an employee checks in when using a kiosk. Options are Barcode/RFID, Barcode/RFID and Manual Selection, or Manual Selection.
The various settings in the Kiosk Settings section determine how employees check in and out with kiosks.
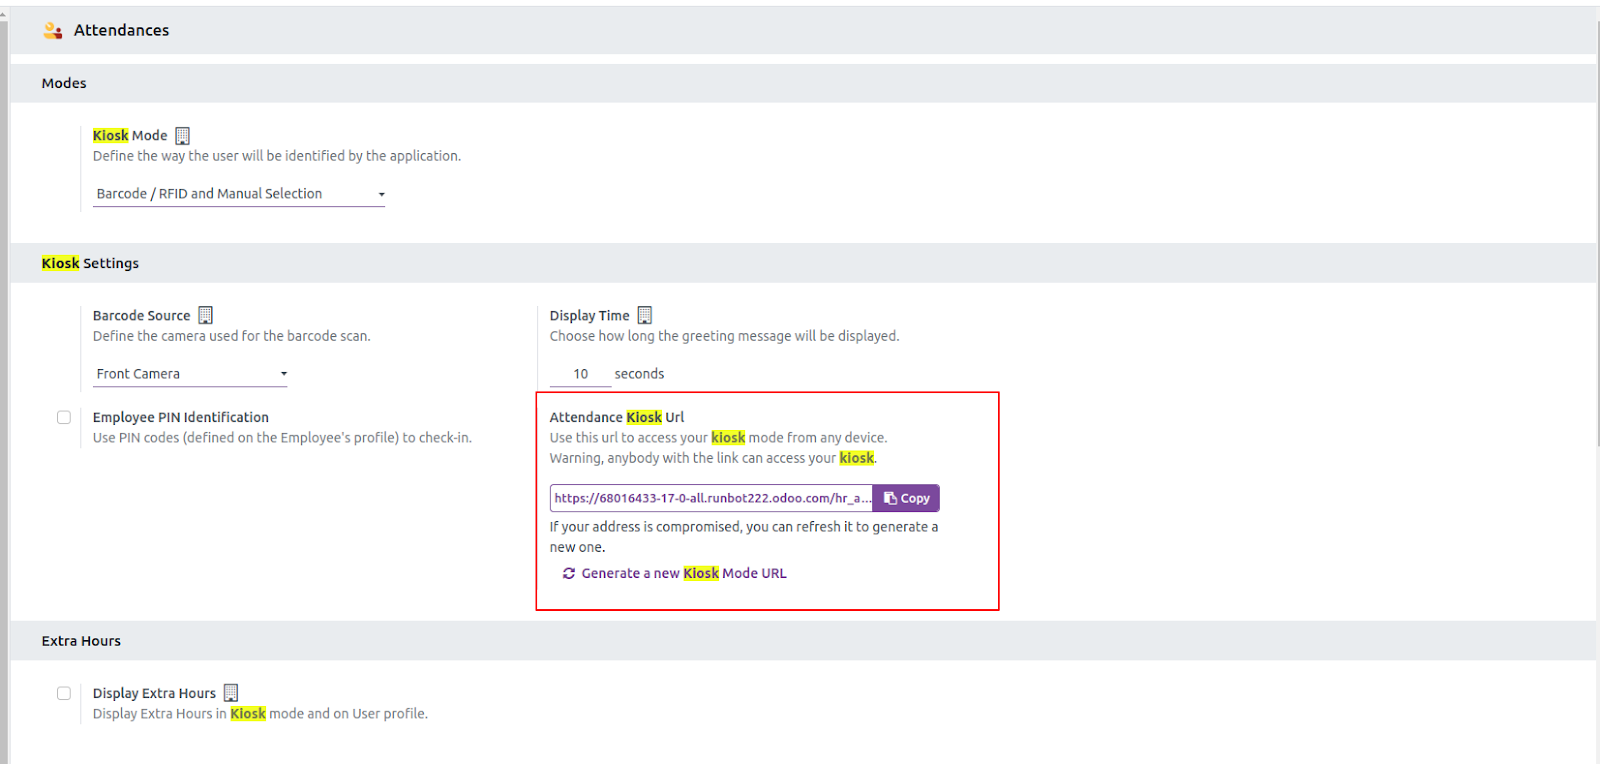
Kiosk Mode can be activated in two different ways:
Check in and out with a kiosk
Badge
To check in or out using a badge, tap the Tap to scan image in the center of the kiosk.
Then, scan the barcode on the badge using the method configured in the Kiosk Settings section of the configuration menu.
Once the barcode is scanned, the employee is checked in or out, and a confirmation message appears with all the information.
RFID
To check in or out using an RFID key fob, simply scan the fob with an RFID reader.
Once scanned, the employee is either checked in or checked out, and a confirmation message appears with all the information.
Manually
Users who do not have a scannable badge, or an RFID fob, can manually check in and out at a kiosk.
Tap the Identify Manually button on the kiosk, and a screen appears with all the employees that can be checked in or out. The Employees application dashboard has the same display.
Tap on a person to check them in or out, and a confirmation message appears.
There are two ways to quickly find a specific person:
If the Employee PIN Identification checkbox was ticked in the Kiosk Settings section of the configuration menu, the employee is prompted to enter a PIN when manually checking in or out.
After the employee is selected, a number pad appears with a message. When checking in, (Employee) Welcome! Please enter your PIN to check in appears above the numbers. When checking out, (Employee) Want to check out? Please enter your PIN to check out appears above the numbers.
Tap in the PIN using the number pad, then tap OK when done. The employee is then checked in or out, and a confirmation message appears.
When an employee checks in or out, a confirmation message appears, with all the check in or check out information. When checking in, a welcome message appears, as well as the date and time of check in.
An Hours Previously Today: HH:MM field also appears, displaying any time that has already been logged for that employee for the day. If no time has been logged, the value displayed is: 00:00. Beneath the message is an OK button.
To exit the screen before the preset time in the kiosk, tap the OK button.
When checking out, the screen displays a goodbye message, with the date and time of check out, and the total hours logged for the day. Beneath the message is a Goodbye button. To exit the screen before the preset time, tap the Goodbye button.
An Odoo implementation company plays a crucial role in configuring and optimizing the Kiosk Mode feature, ensuring businesses can fully leverage Odoo's robust time-tracking capabilities.


0