Aswini MMOct. 15, 2024
In today's rapidly evolving business landscape, the need for efficient point-of-sale solutions is more pronounced. Odoo's robust Point of Sale (POS) module offers versatile and integrated business management software, and this blog explores configuring restaurants in Odoo for streamlined operations and enhanced customer experiences.
Setting up your Restaurant profile
The first step in configuring a restaurant in Odoo 18 is establishing the restaurant profile. Navigate to Configuration menu of Point of Sale app.

Click on +New Shop button to create a new restaurant provide a name and mention it as a restaurant by enabling the checkbox from the displayed pop up window as illustrated below.
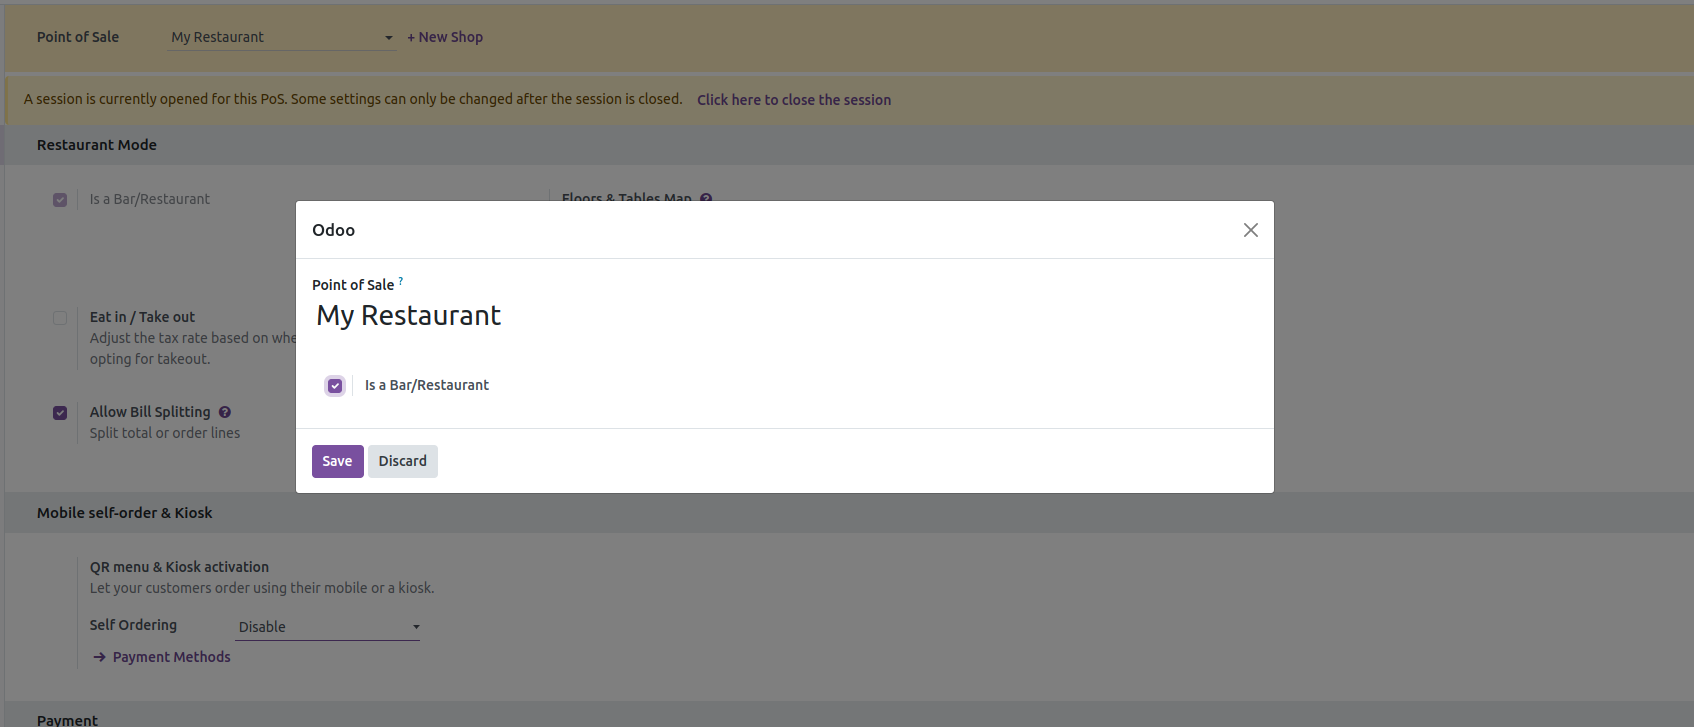
After that, save the restaurant change by clicking on Save icon. Next, open the Dashboard window to display the freshly set-up restaurant interface from kanban perspective
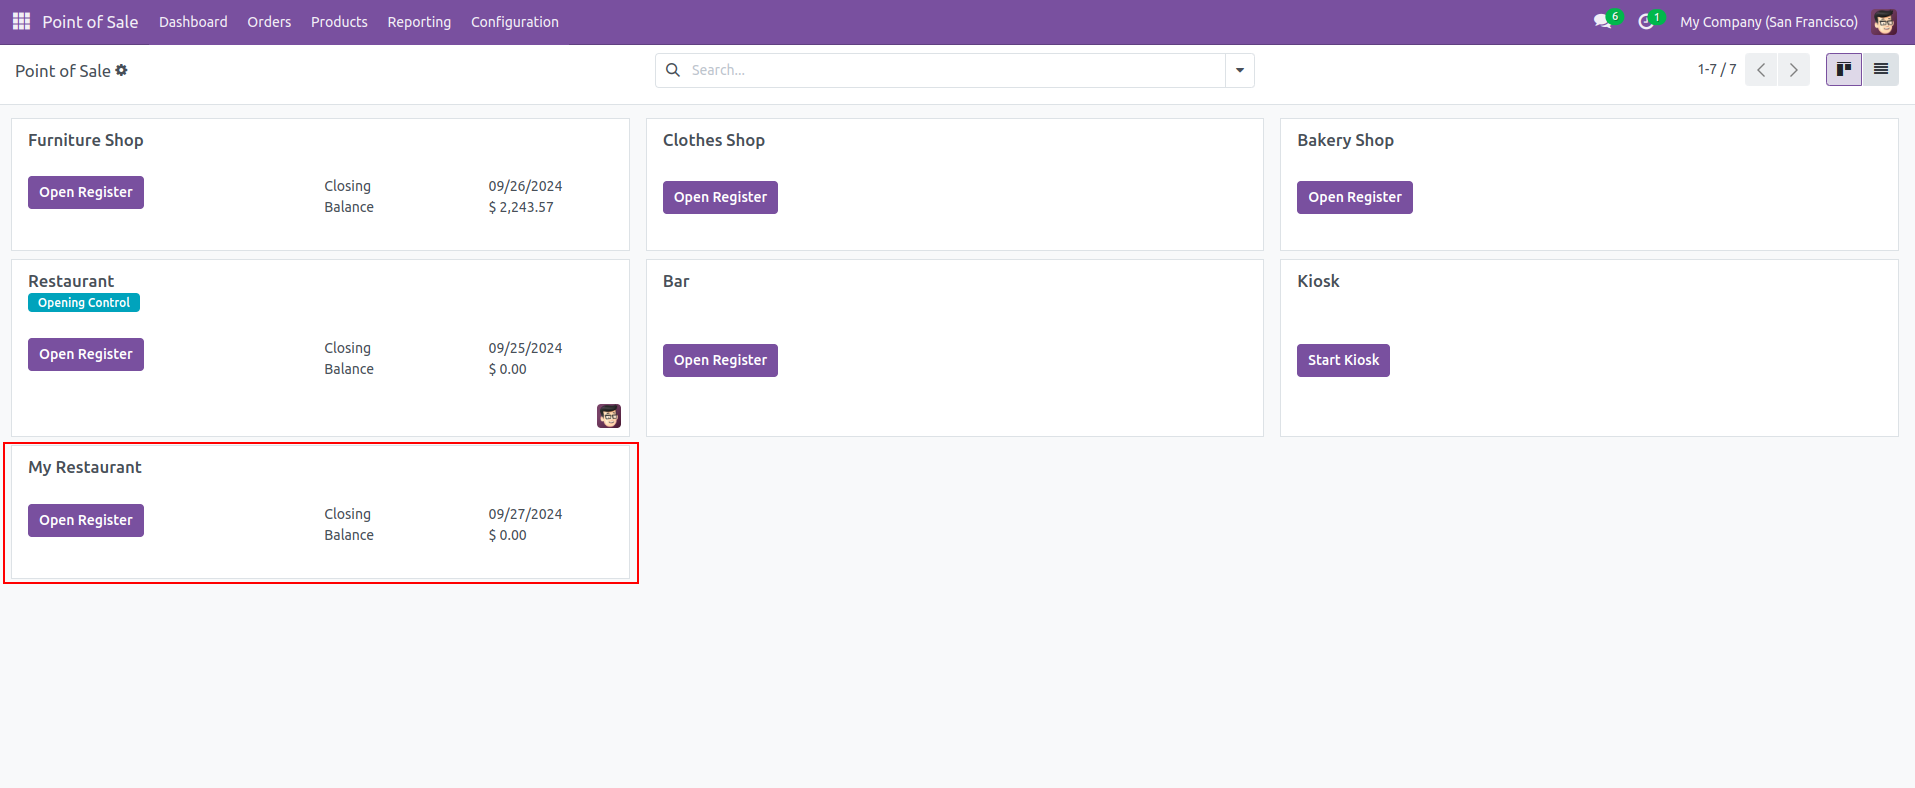
click on Open Register to see the restaurant session.
Configuration of Floor plans and Tables
The floor plan view enables you to manage restaurant floors and table arrangements.
Configuration from POS Backend
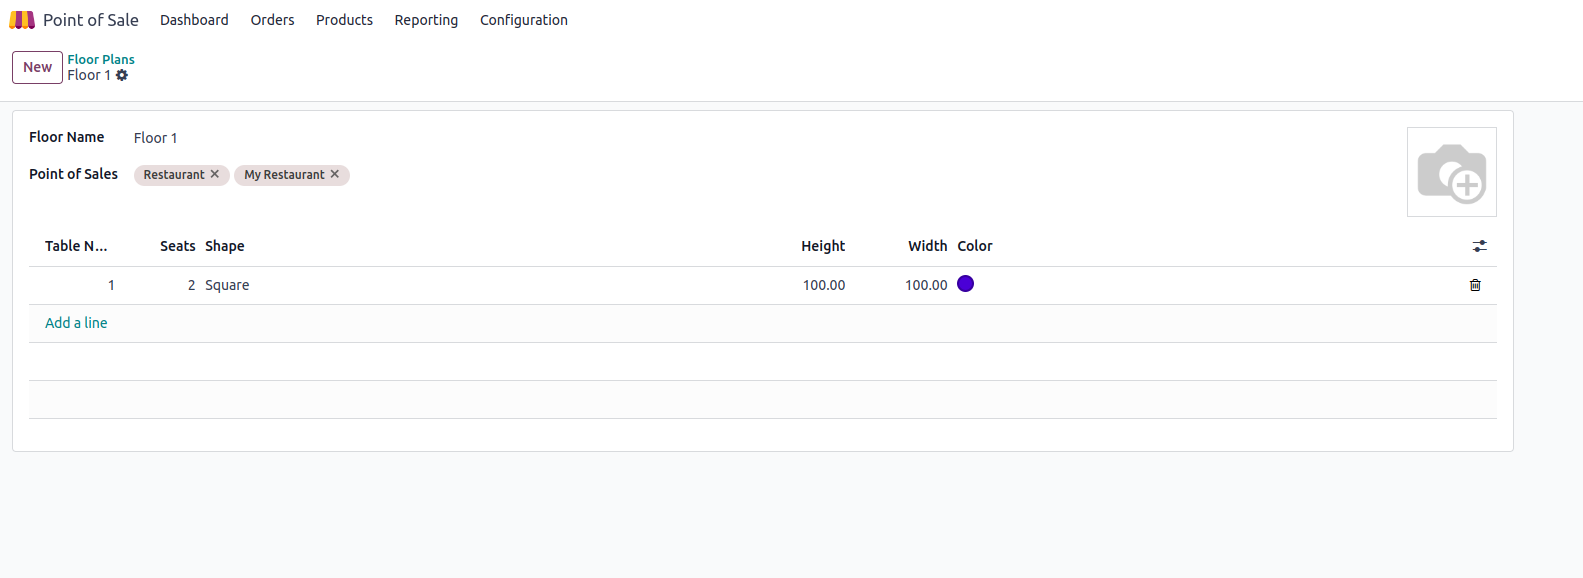
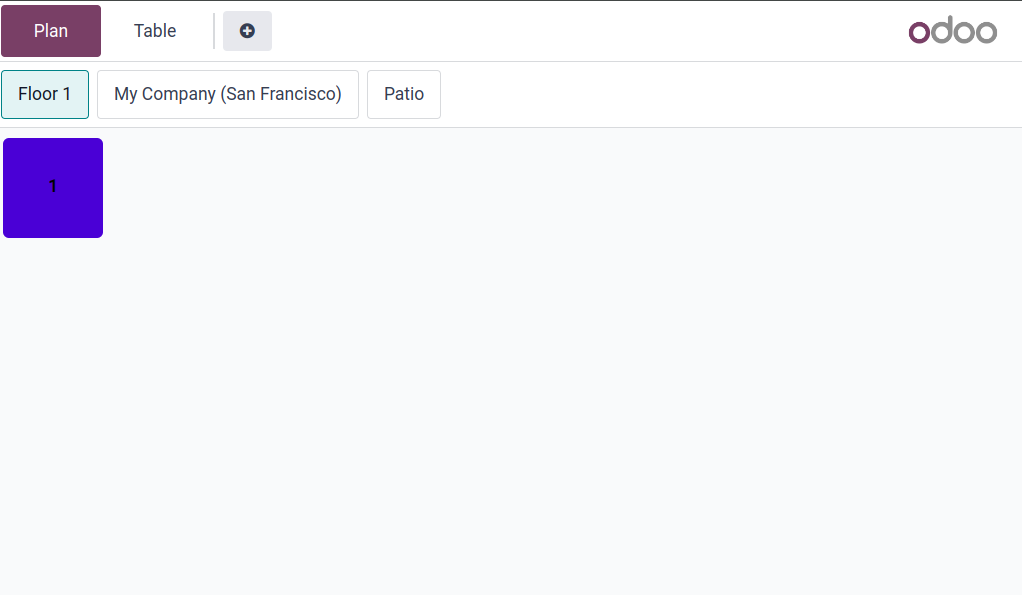
To create floors and tables from the backend, go to Point of Sale -> Configuration -> Floor Plans, and click New to create a floor. Name it, select the related point(s) of sales, and click Add a line to create a table. Give the table number where the number of table displayed on floor plan. and assign a number of seats,you can also give colour to the table,set height width etc.Once done, save the changes.
Configuring from POS Frontend
To create floors and tables from the frontend,open a POS Session, click the hamburger menu icon ≡ in the upper right corner, the Edit Plan to enter the edit mode. Click on + to add a new floor then click Apply.
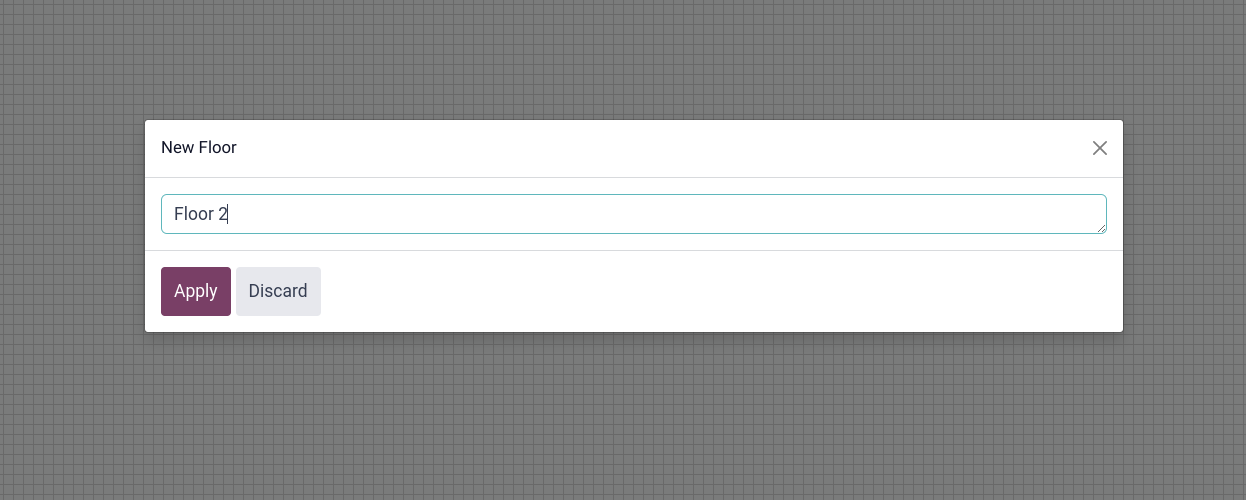
Once a floor is created, add a table by clicking + TABLE. To move it, select it and drag and drop it as desired. You can also modify the attributes of the selected table, such as the number of seats by clicking SEATS, the table shape using SHAPE, the table color using FILL, or the table name by clicking RENAME. To duplicate an existing table, select it and click COPY. You can also remove the table by clicking DELETE.
After making all the necessary modifications, click CLOSE to save.
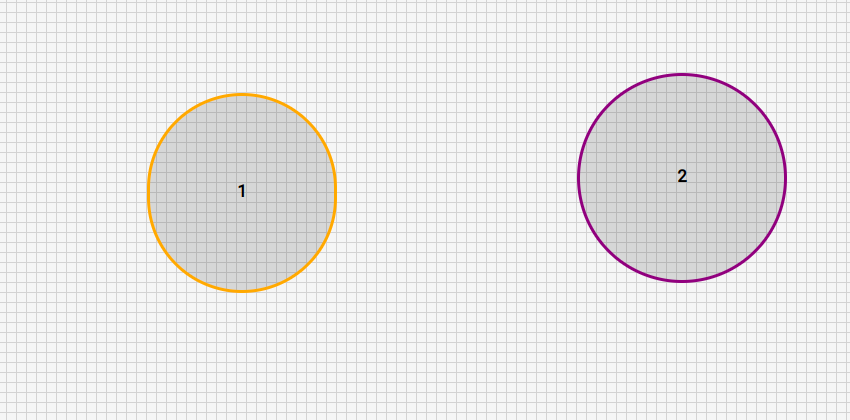
Table Transfer
To move customers from one table to another, Select a table then click on Actions, from there choose Transfer/Merge on POS interface.
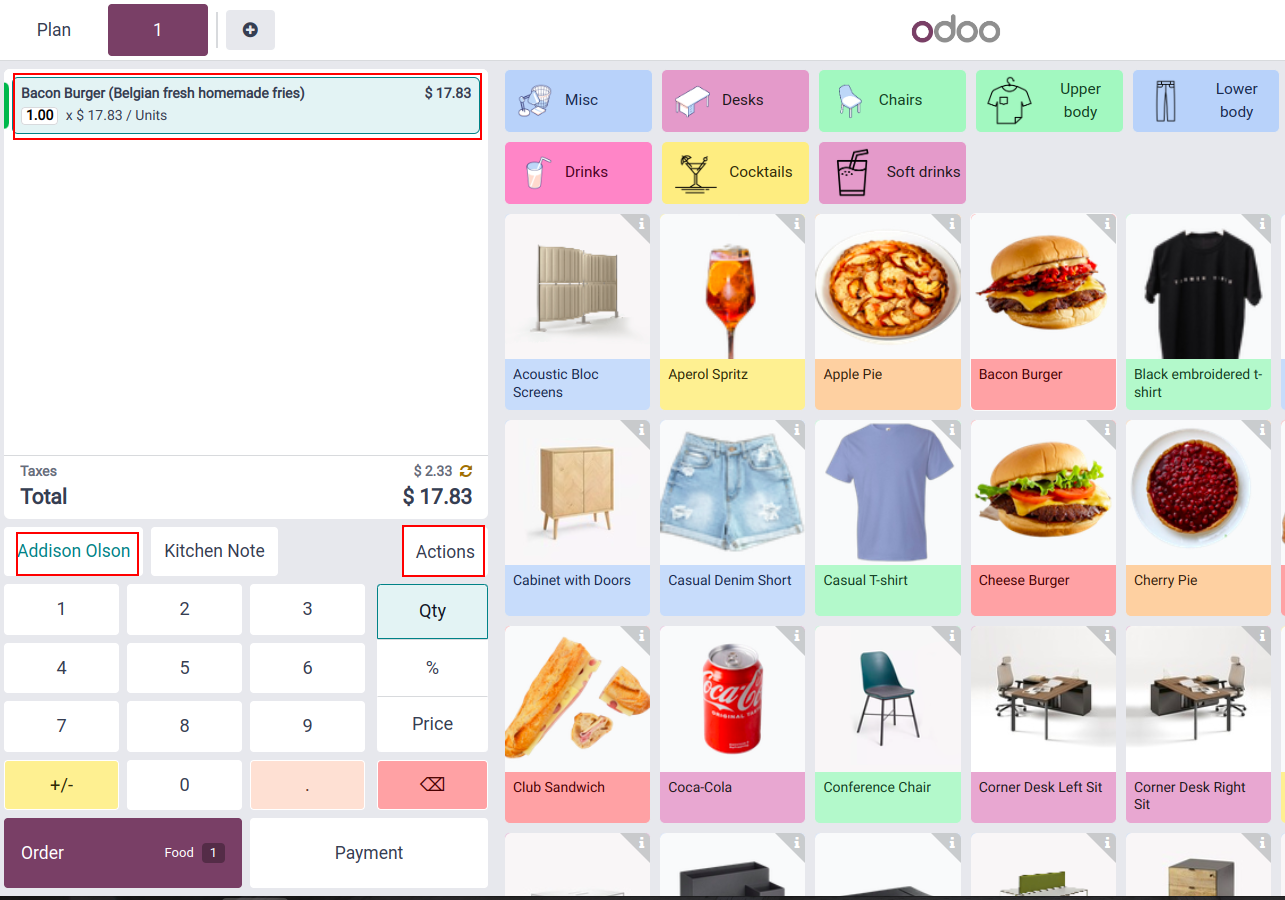
Transfer/Merge option

This will redirects you to the floor plan view, where you can choose the new table which you want to transfer the customers.
When you transfer customers, all the orders they have placed and that are linked to the original table are also transferred.
Transferred customer and associated order to the next table
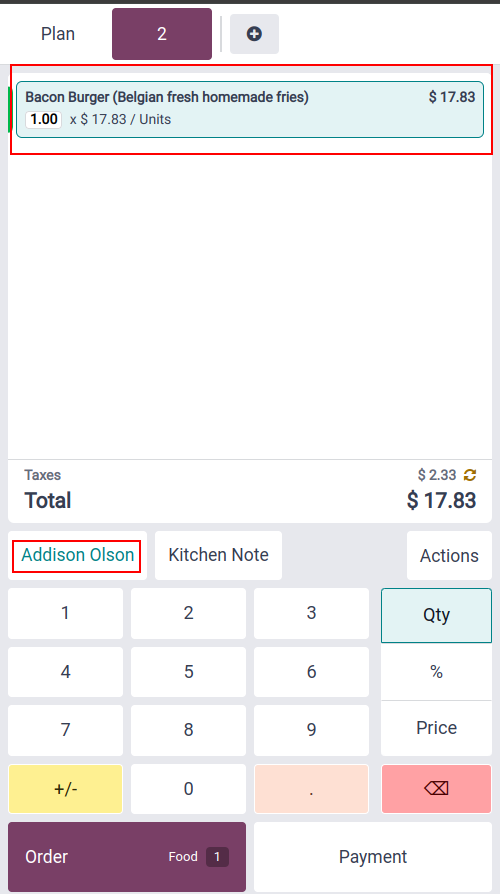
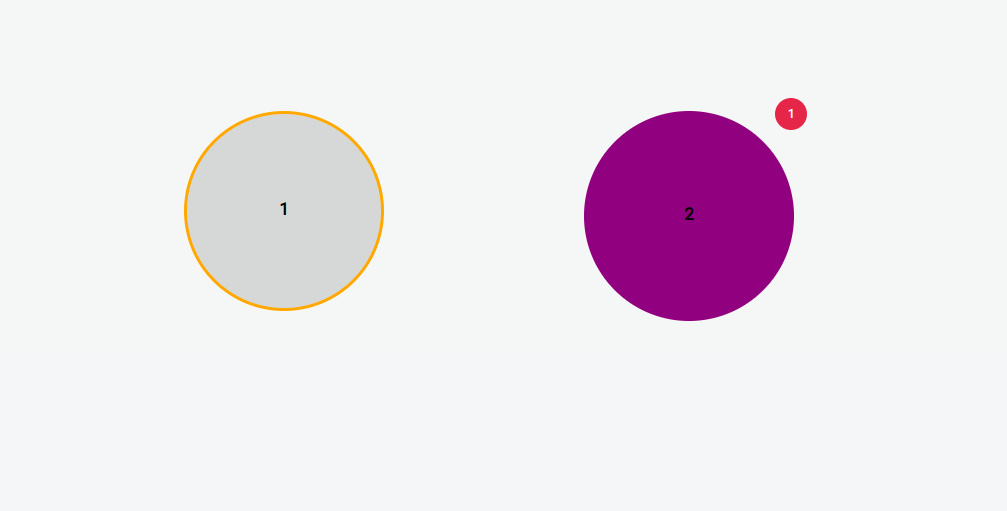
Table 2: An order with 1 item has been placed and needs to be sent to the kitchen
Bills
Typical practices in restaurants or bars are to request the bill before proceeding to payment or splitting it based on the items ordered. Odoo POS provides two features to perform these tasks seamlessly: Bill Printing and Bill Splitting.
To activate the features, go to Point of Sale -> Configuration -> Settings, select the POS, and activate Early Receipt Printing and Allow Bill Splitting in the Restaurant & Bar section.

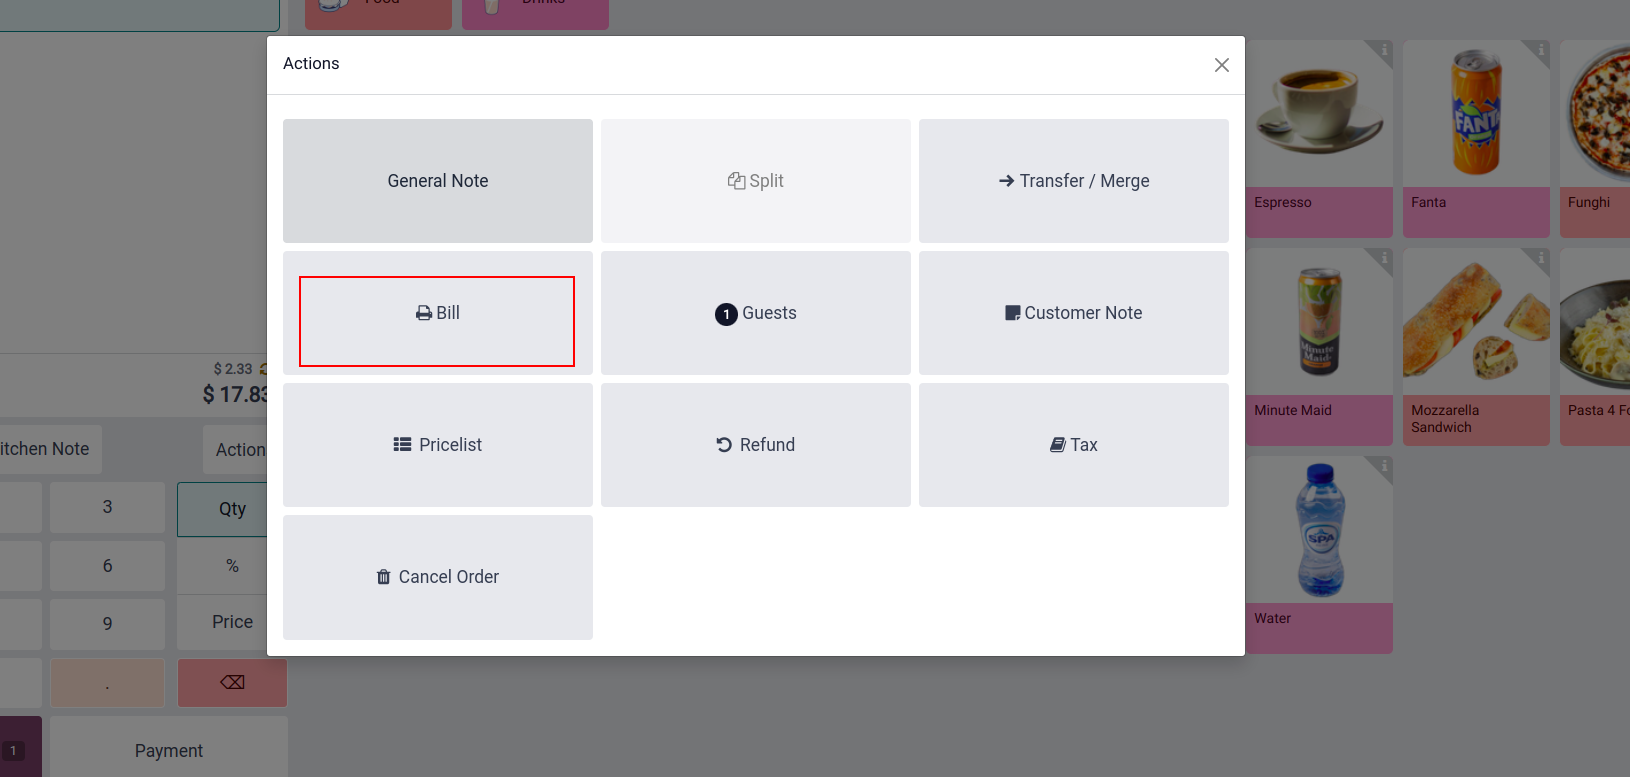
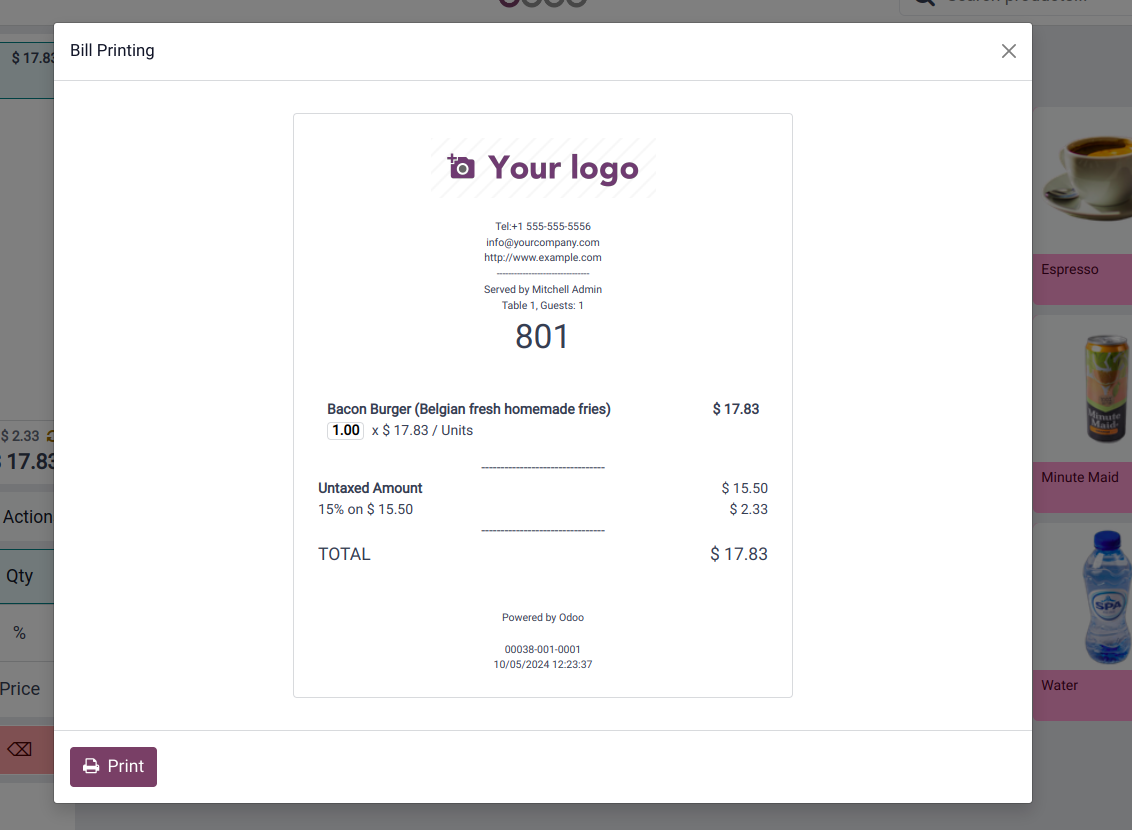
From an open session, click Bill ->Print at any moment to generate and print bill.
Bill Splitting
From an open session, click Split to select the items to regroup. Once everything is selected, click Payment and proceed to checkout for these items. Repeat for each guest.
Tips
Tipping is customary in multiple countries. Point of Sale allows tipping in shops, bars, or restaurants.
To allow tipping in your POS, activate the Tips feature in Point of Sale -> Configuration -> Settings. At the top of the page, select the POS in which you wish to allow tipping, scroll down to the payment section and check Tips. Once enabled, add a Tip Product in the corresponding field, and save. The designated product will be used as a reference on customers’ receipts.

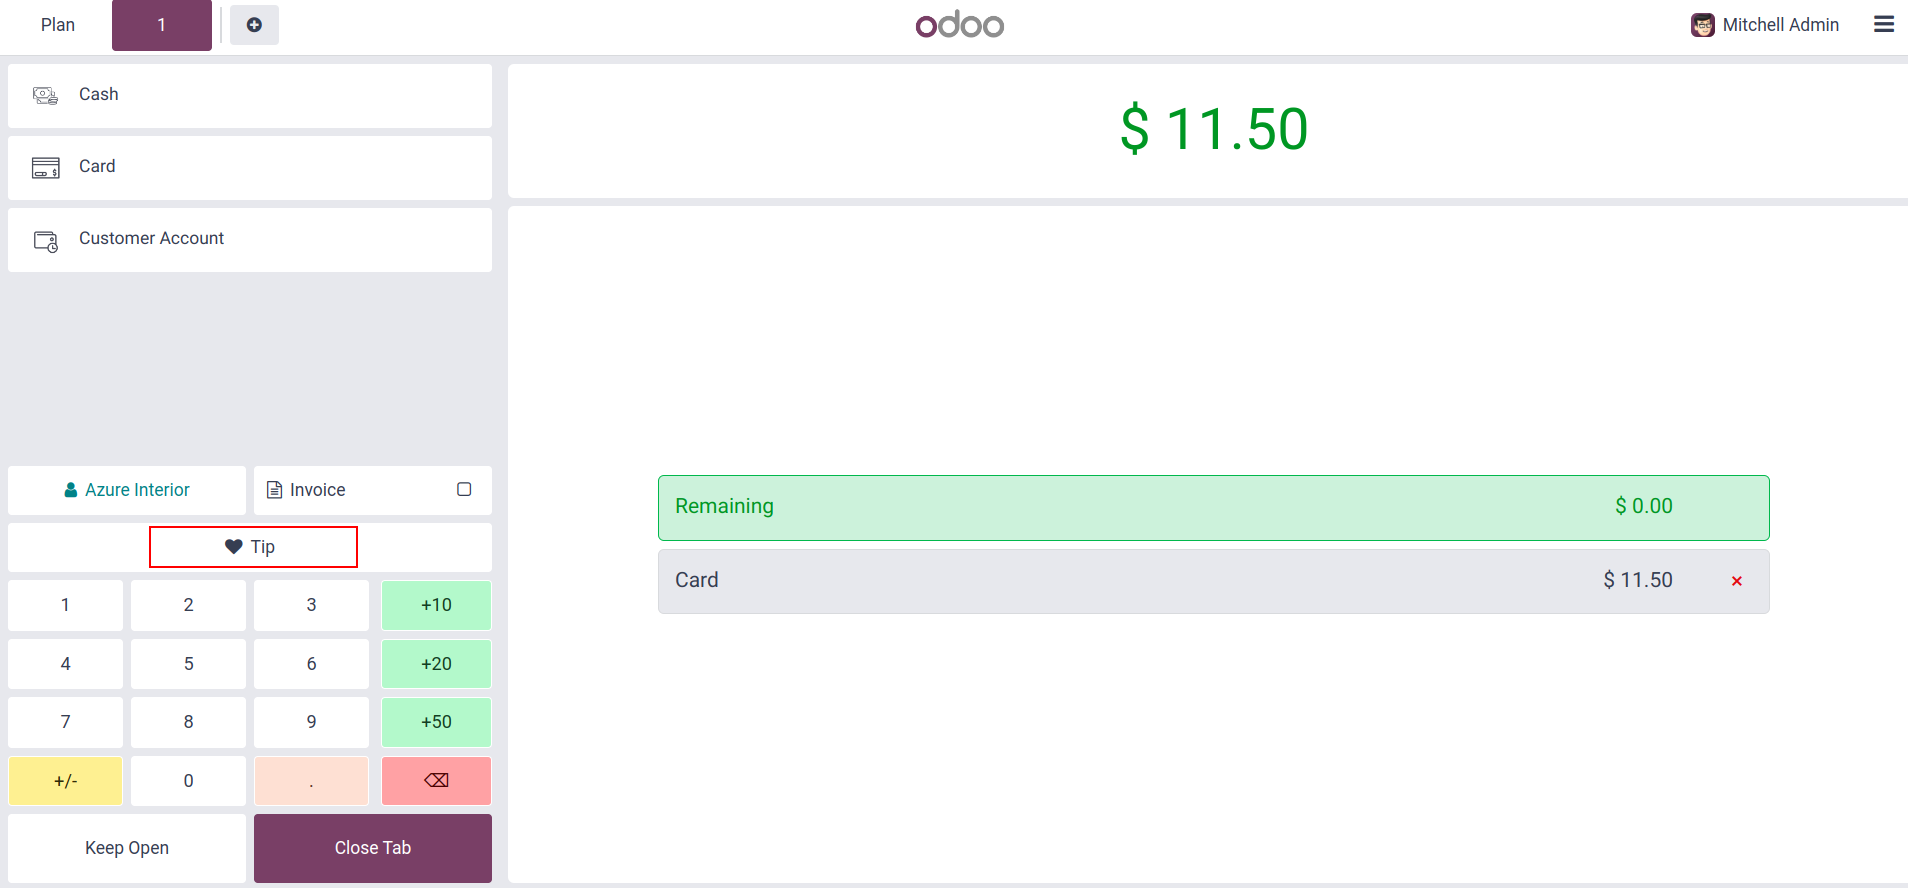
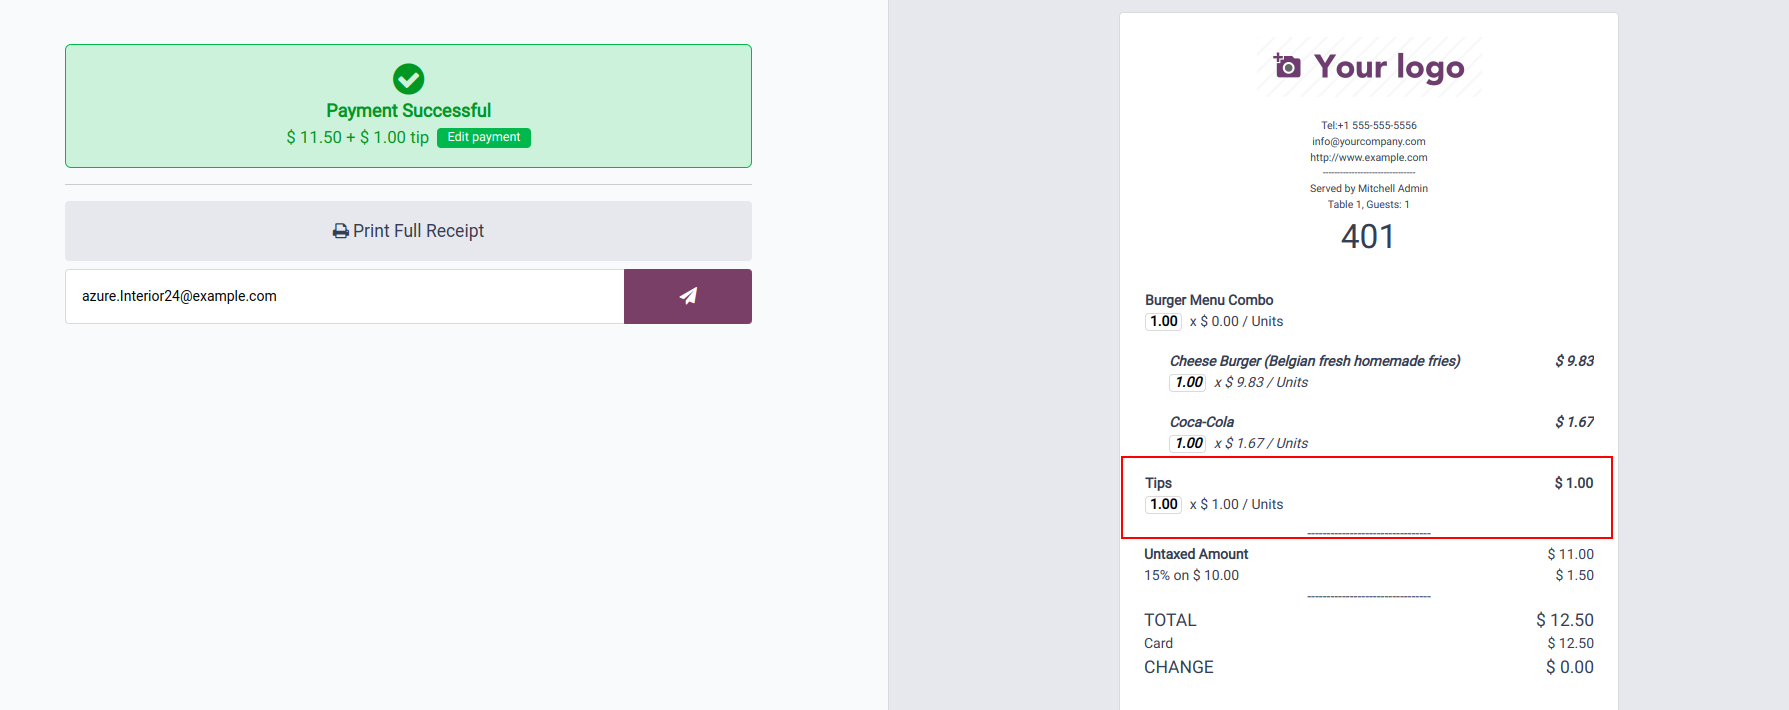
In an open session, after confirming the orders and during the payment process, an option to leave a tip is presented. The tip amount will be shown in the receipt.
Preparation Display
Enable this option to display orders on the preparation display. For this, go to Point of Sale -> Configuration then scroll down to Prepaation section
then enable the option Preparation Display and save the change.

Open the session then make an order. Navigate to Orders tab then choose Preparation Display
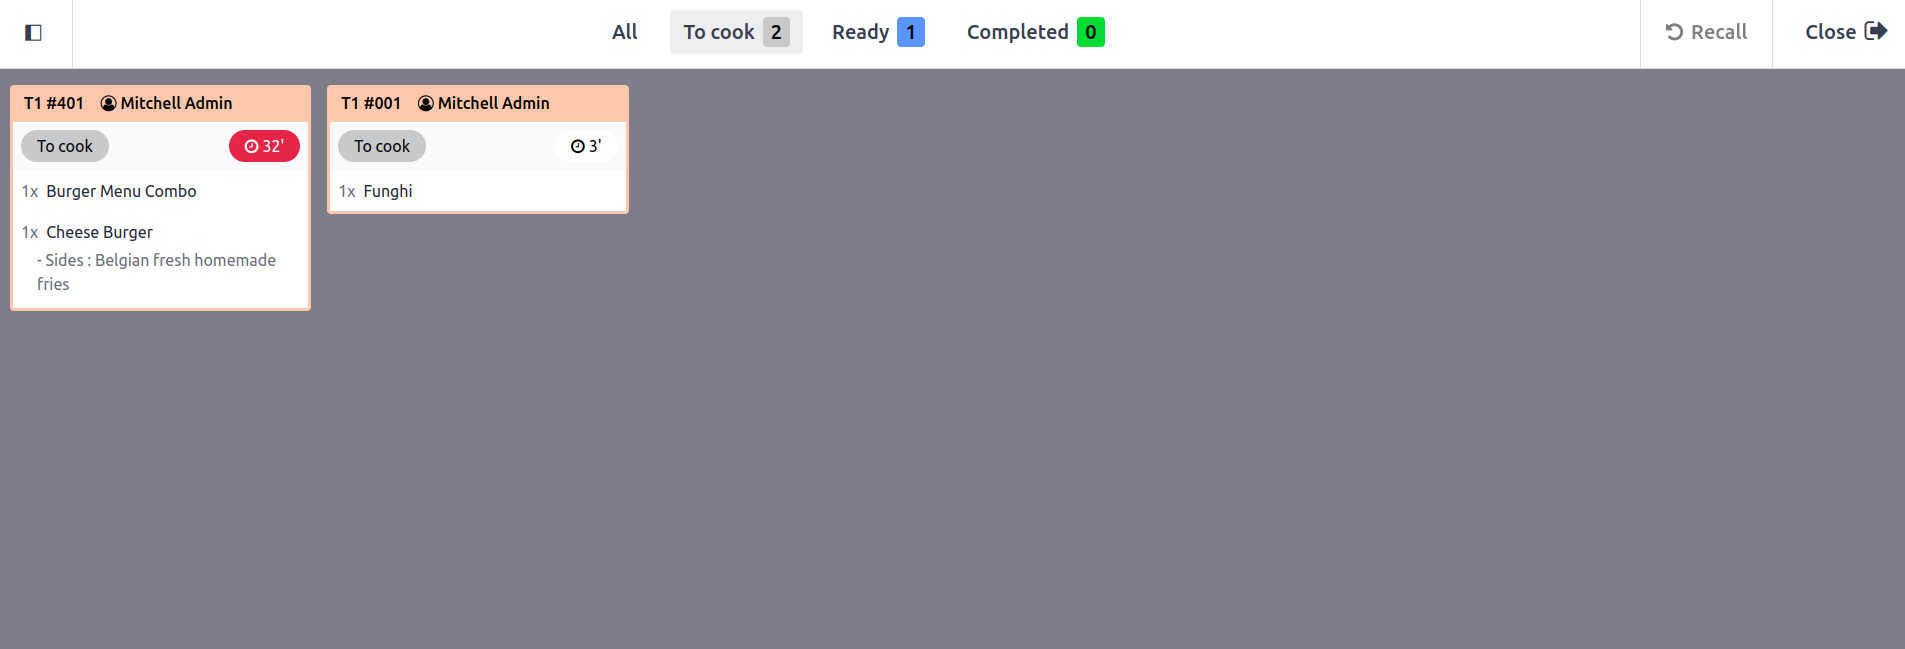
Currently, there are 2 orders to cook, 1 order which is ready.Tapping on the order will change the stages.

2