Sahdiya MammoottyJan. 26, 2020
Recruitment is a key aspect of HR activities. With Odoo's Recruitment module, the entire recruitment process can be managed efficiently. You can create and track job openings, oversee the entire hiring workflow, and manage post-recruitment activities seamlessly. Additionally, the module includes candidate management, allowing you to view and access detailed information about each applicant on a single screen.
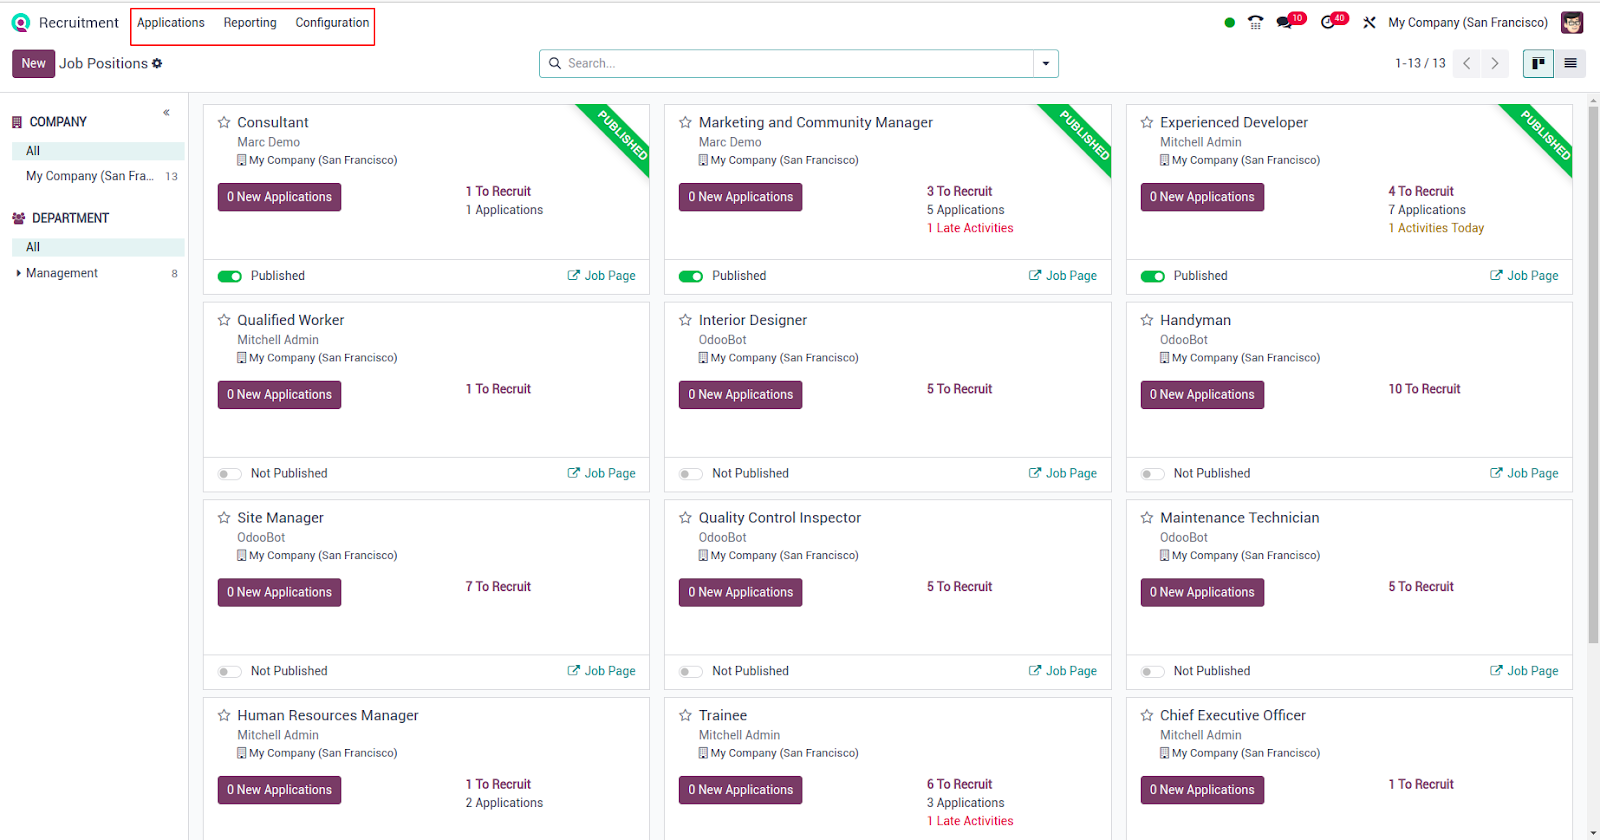
When you open the Recruitment module, you will find Applications, Reporting, and Configurations as the available menu options.
Each main menu in the Recruitment module contains specific sub-menus. Under Applications, you will find By Job Position, All Applications, and Offers. This allows you to view applications based on job positions, see all applications together, and manage job offers.
Additionally, there are Reporting and Configuration sections for analysis and settings.
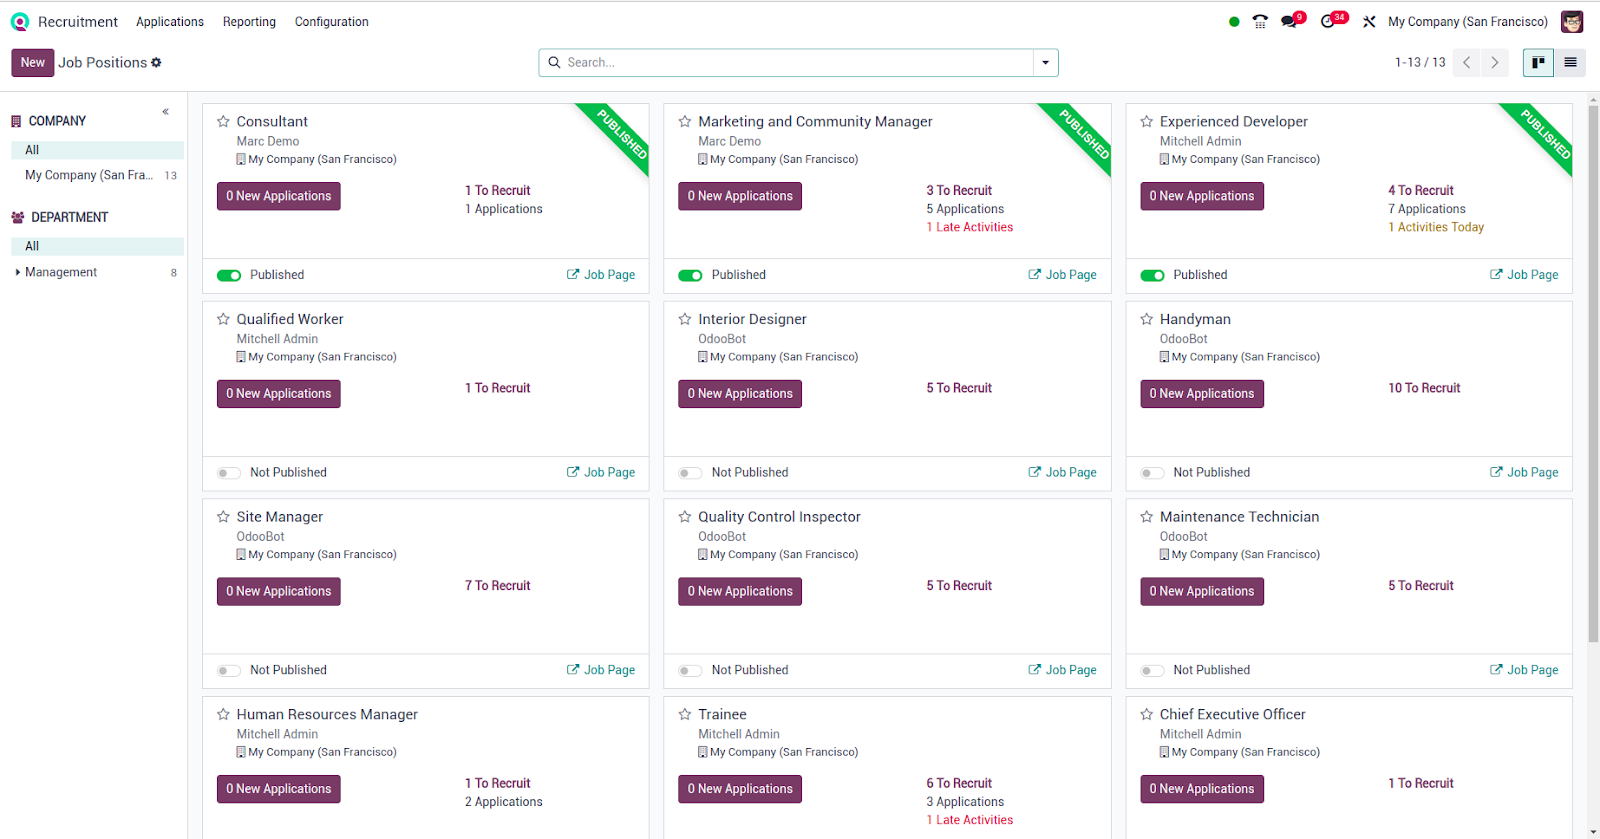
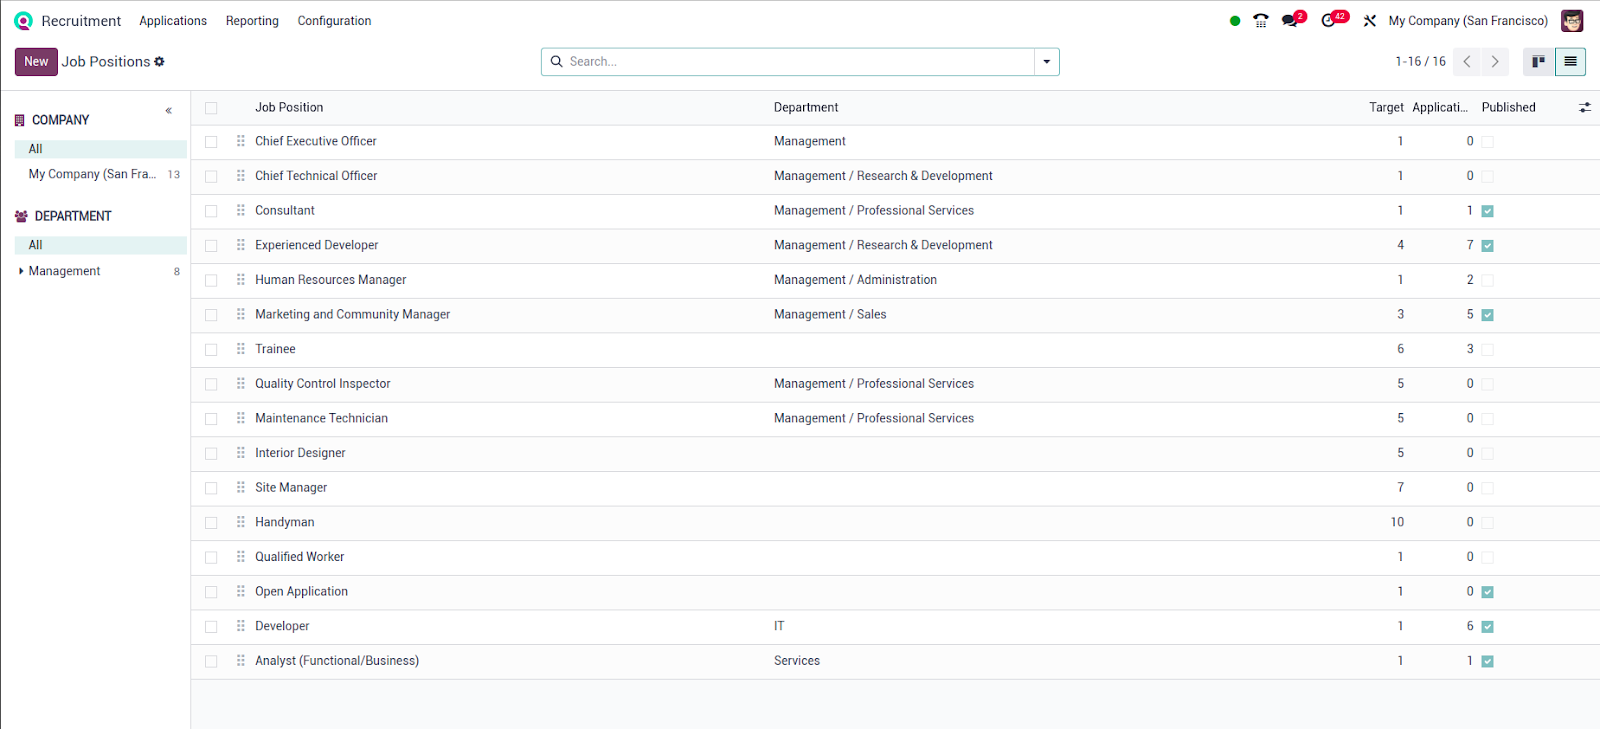
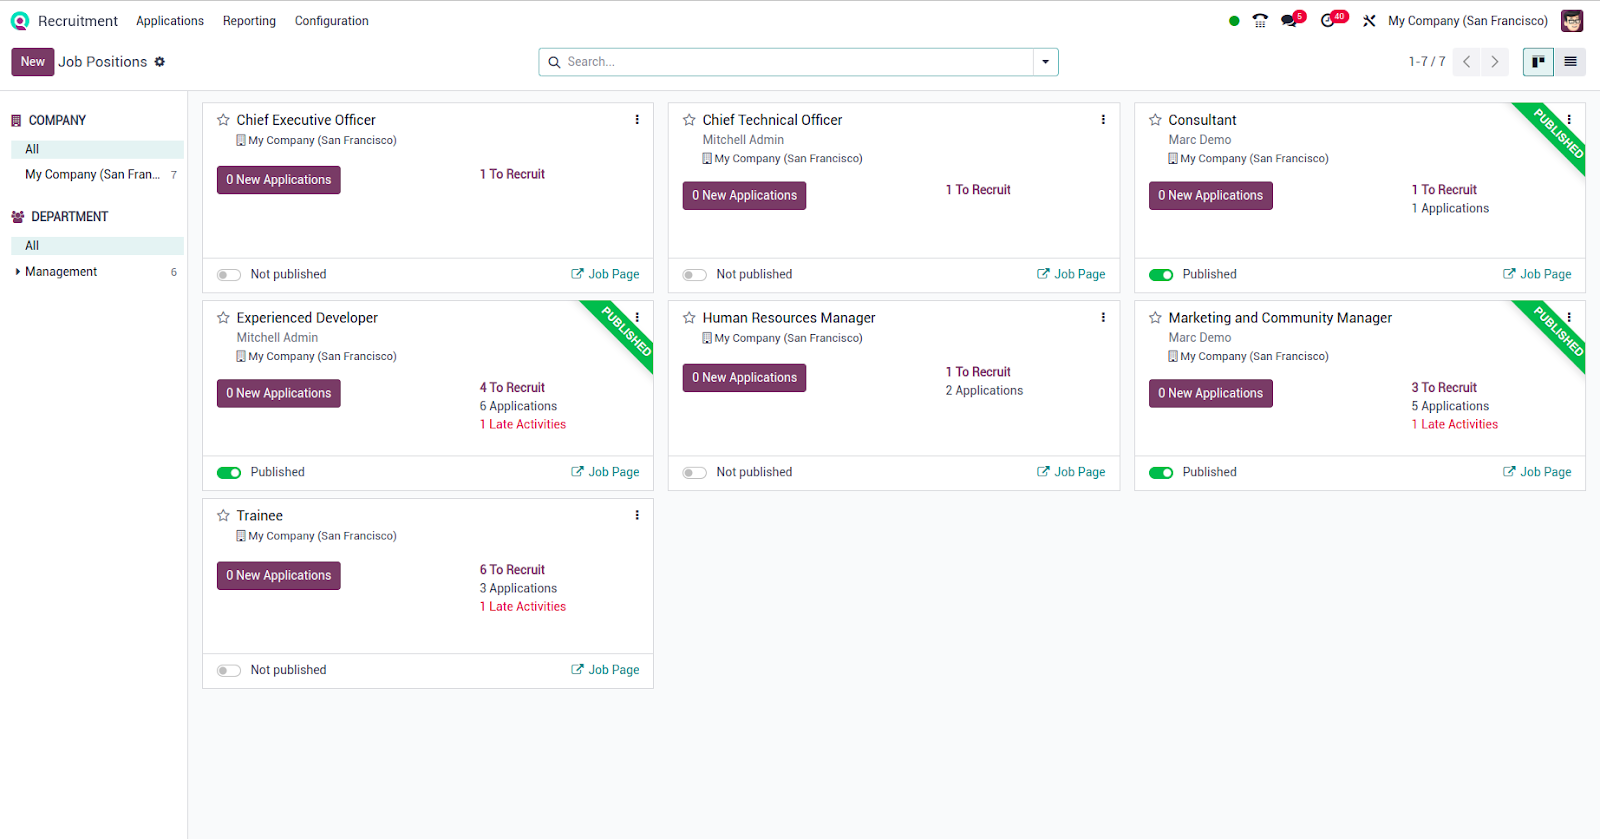
When you open the Recruitment module, the Job Positions are displayed. In the list view, you can see details such as the job position, department, number of applications, target, and publication status.
If you select the Experienced Developer position, you will see that there are seven applications for it.
Under the Recruitment tab, you can define details such as Department and Job Location. You can specify the job location, set an email alias, and define the target number of new employees. Additionally, you can see whether the job is published, assign website recruiters and interviewers, select a contract template, and configure other details.
On the right side, you can set the employment type (permanent or temporary) and specify the company. The process details are also available, including open days, interview stages (e.g., phone call, on-site interview), and the estimated time to receive an offer (e.g., four days after the interview). You can also provide a job summary, which includes a brief job description.
Recruitment stages can be updated using a drag-and-drop feature to move candidates into the desired stage. Activities can also be scheduled for each applicant. For example, if you have an applicant for the Marketing and Community Manager role, you can schedule an activity by clicking on the respective cell. You will then be able to set the activity type, summary, due date, and other relevant details. Once scheduled, you can save the activity for future tracking.
Trackers help monitor the recruitment process by tracking job sources such as LinkedIn. These sources can be easily configured within the module. Additionally, while creating a new recruitment entry, you can further add details like the department associated with the job.
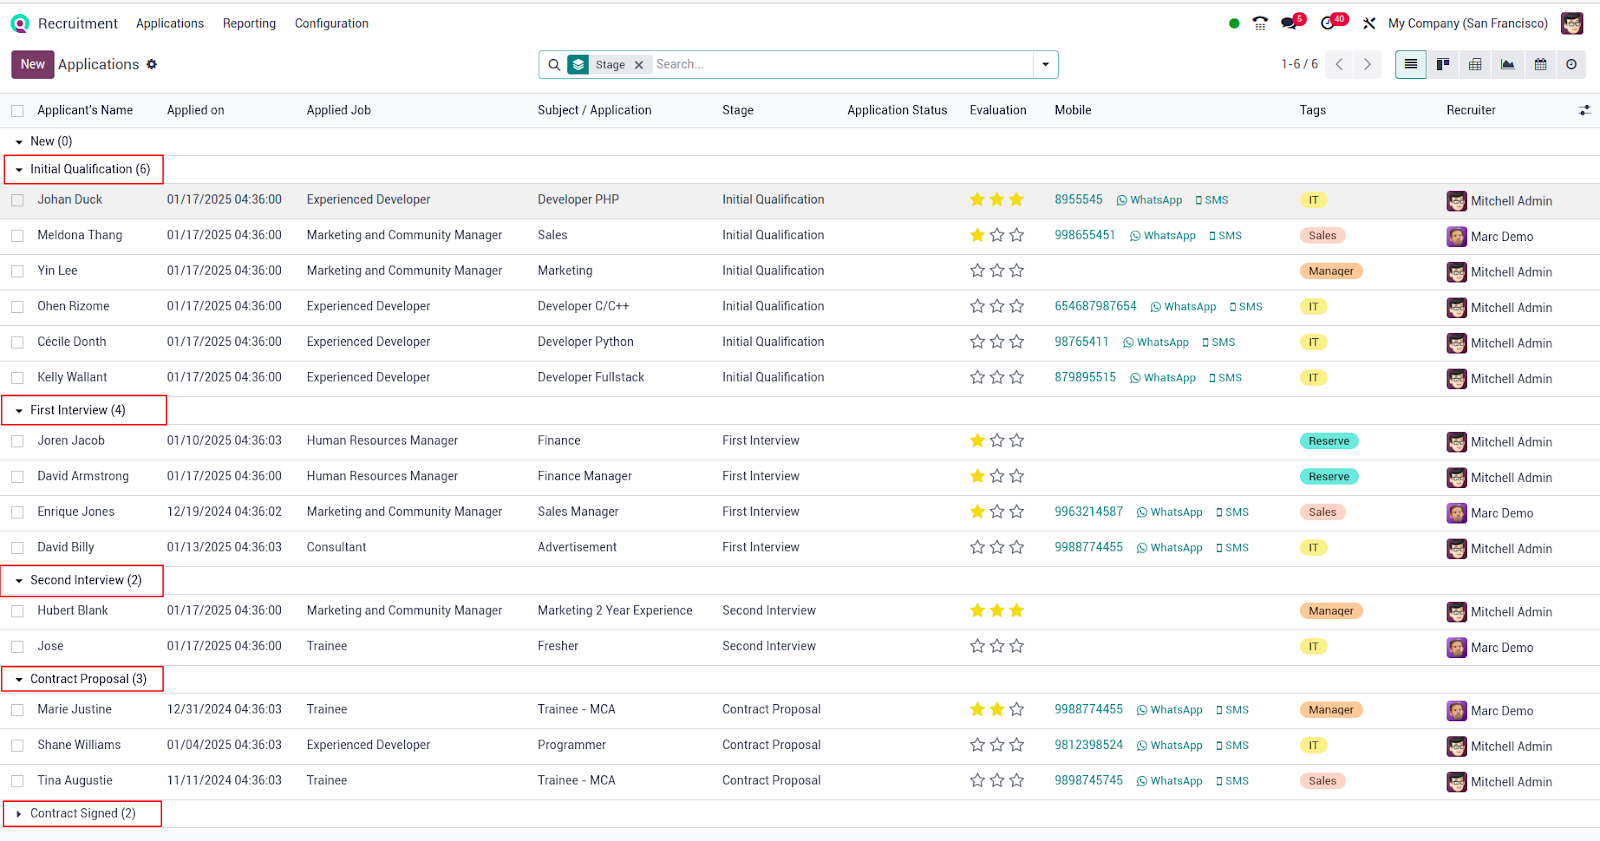
The Applications submenu includes a By Job Position option. By selecting this, you can view applications categorized by job position, providing a clear overview of candidates for each role. This is exactly what you see when you open the Recruitment module.
Next, we have the All Applications section. Previously, applications were displayed based on job positions. However, if you want to view all applications in the system, you can do so by clicking on the Applications menu and selecting All Applications. This will display every application along with their respective stages and the candidates assigned to each stage.
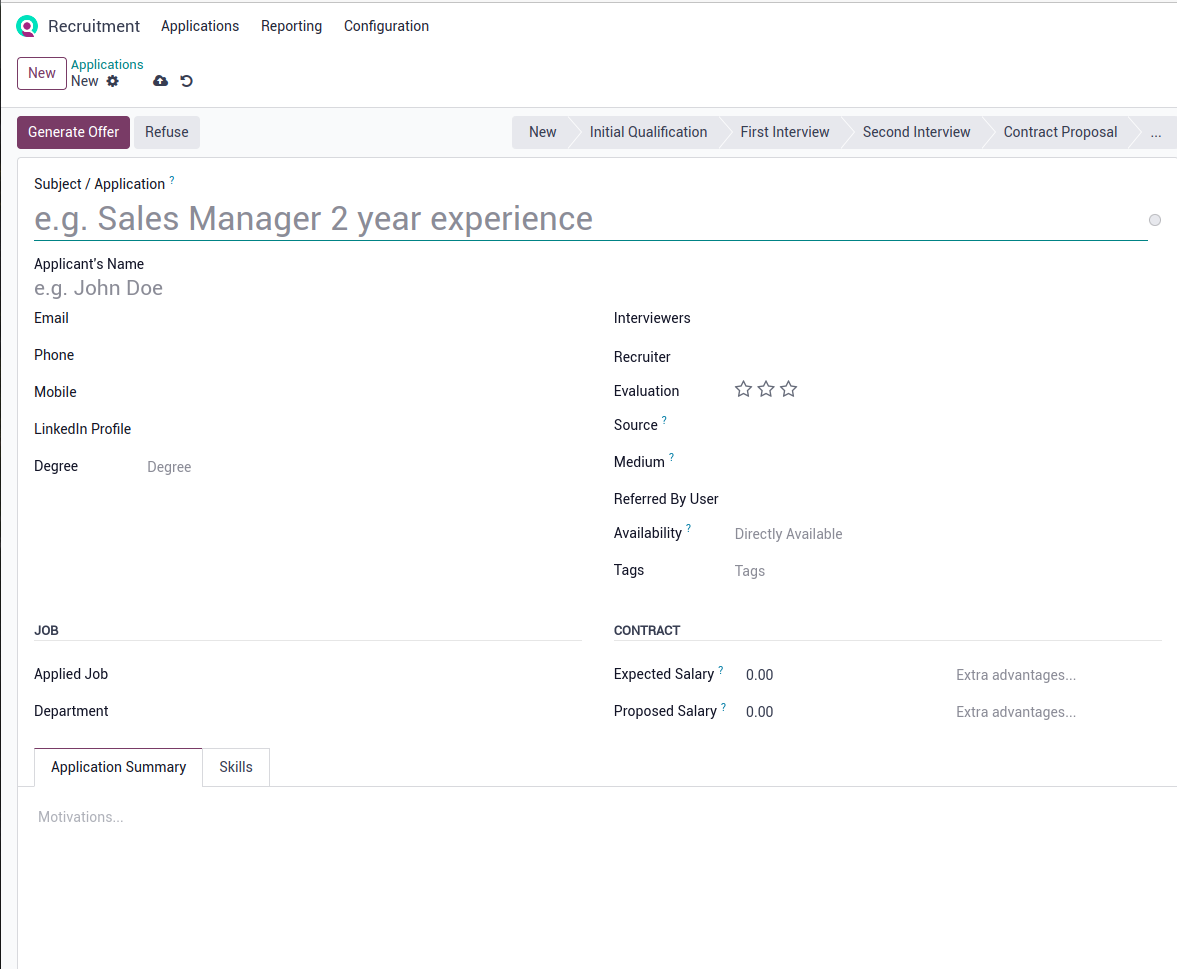
You can create a new application from here,so click on new.
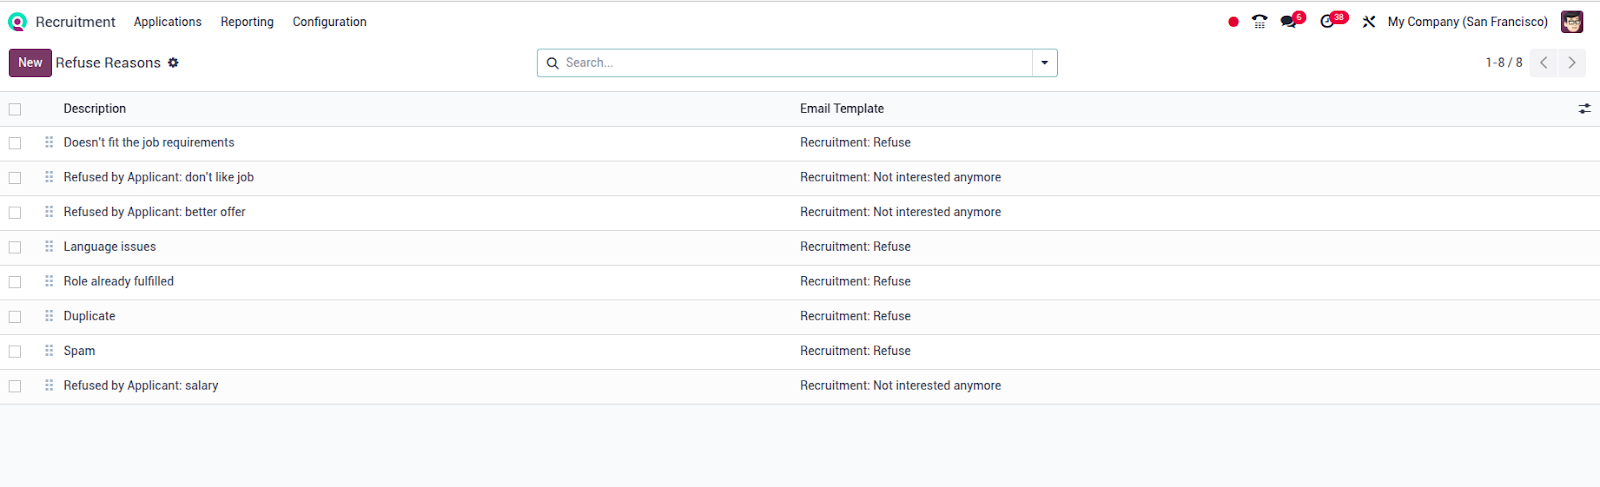
Here, you can enter the subject of the application and specify the applicant's name. You also have the option to provide their email ID, phone number, mobile number, and LinkedIn profile. Additionally, you can select the applicant’s degree (e.g., Graduate, Bachelor's, Master's) and assign interviewers. If needed, you can also choose a refusal reason for rejected applications.


0