Mubasheera PullatSept. 10, 2024
Odoo Studio is a versatile application within Odoo 18 that enables businesses to design, develop, and customize their own applications without needing any coding expertise. Whether you're a business owner, consultant, or developer, Odoo Studio provides a user-friendly interface for modifying existing applications or creating new ones tailored to your specific needs and workflows. With its drag-and-drop functionality, Studio empowers users to improve processes, enhance communication, and better control operations across all areas of the business.
As a leading Odoo customisation company, we at Technaureus specialise in helping businesses utilise the full potential of Odoo Studio. In this guide, we will explore the key features of Odoo Studio and walk through an example of creating a Service request management application. This will help illustrate how Odoo Studio can be leveraged to customize workflows and streamline operations in Odoo 18.
Before we delve into creating a custom application, let’s explore some of the key features that make Odoo Studio so versatile:
Key Features of Odoo Studio for Service Request Management:
No-Code Application Development : Odoo Studio enables effortless creation of service request management applications without coding. Its user-friendly interface allows you to design and modify applications by simply dragging and dropping elements, making it accessible even to those without programming skills. As a best Odoo customisation company, we make this process seamless for your business.
Custom Field Creation: Easily add custom fields to track essential details specific to service requests. For instance, you can include fields for Request Type, Priority Level, and Service Technician. Define field types, validation rules, and defaults with a few clicks to tailor the app to your needs.
Custom Reports and Views: Customize how service request data is presented with tailored reports and views. Modify list views and form layouts to highlight crucial information like request status or response times, enhancing clarity and decision-making.
Automated Workflows: Streamline your service request processes by setting up automated workflows. For example, automatically notify support staff when a new request is submitted, or trigger follow-up actions based on request priority. This reduces manual effort and ensures efficient handling of service requests.
Drag-and-Drop Interface: The intuitive drag-and-drop interface of Odoo Studio makes it simple to build and adjust your service request management app. Easily arrange fields and menus, allowing for quick customizations and a user-friendly experience.
Menu and Navigation Customization: Tailor the app’s menu and navigation to suit your service request management needs. Create and organize menus for different request categories, statuses, and reports to ensure seamless access and efficient workflow management.
Advanced App Deployment: Once your service request management app is ready, deploy it immediately within the Odoo environment. Studio ensures a smooth deployment process, enabling your team to start using the app without delay and integrating it seamlessly with your existing Odoo setup.
As the best Odoo implementation company, we ensure these features are fully optimised to meet the unique requirements of your business.
Once Odoo Studio is installed from the Apps section of Odoo 18.
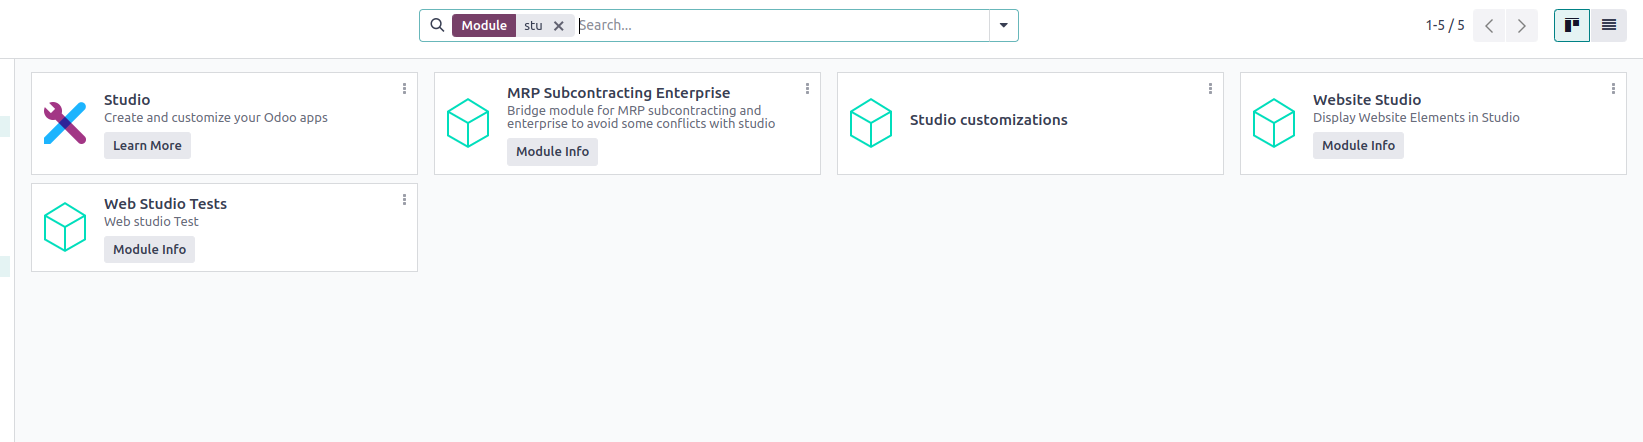
you’ll see the Toggle Studio button in your main navigation bar. Clicking this button enables the Studio mode, where you can either modify existing applications or create a new one.

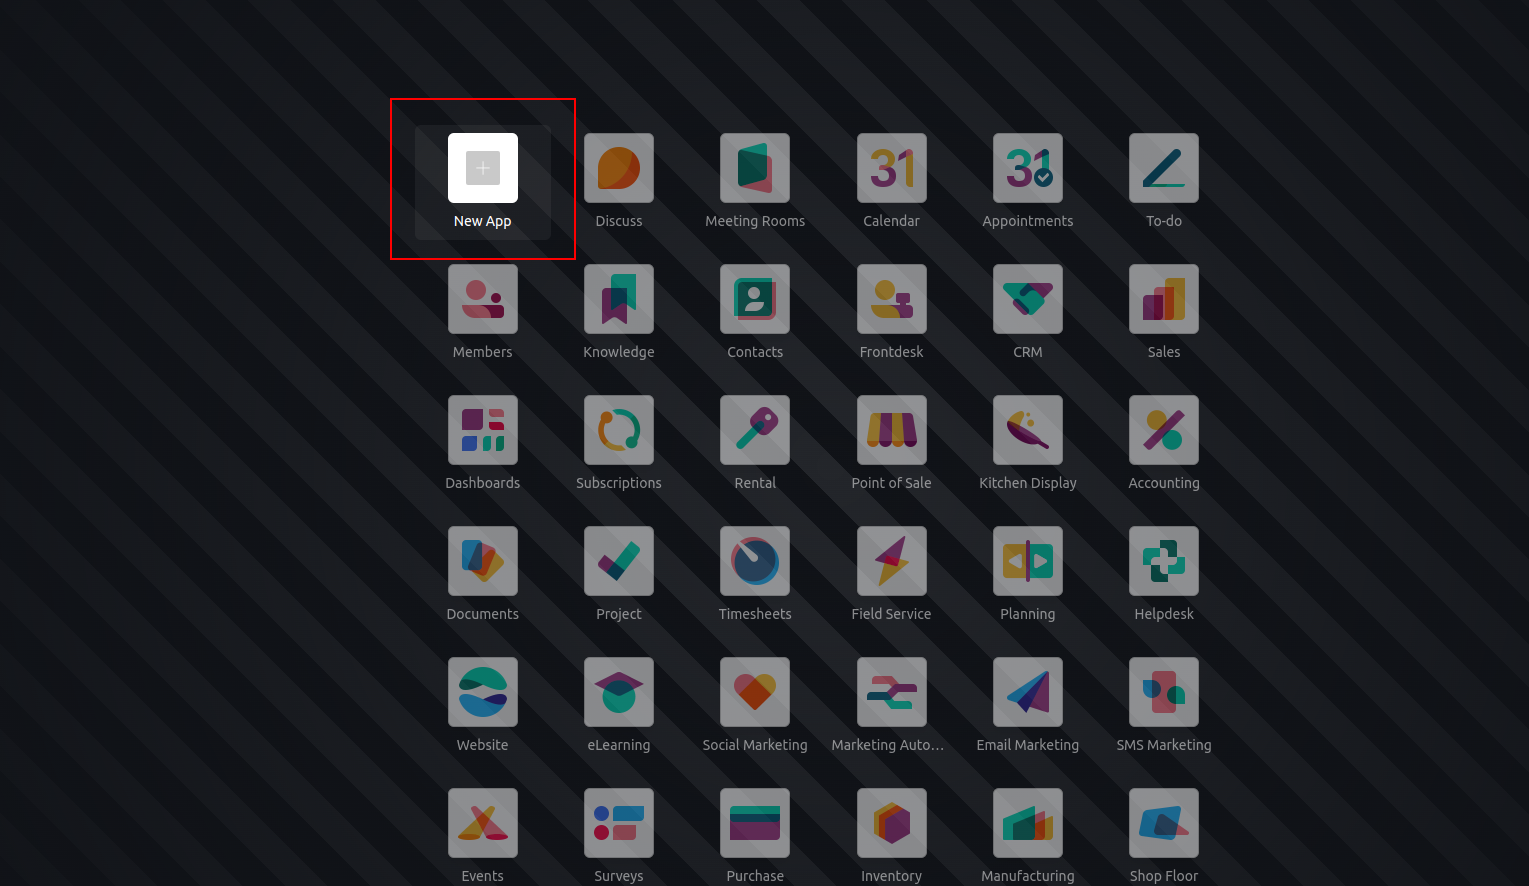
To create a new application, click the “+” icon within the Studio interface. This will prompt you to input basic details about your new application. For this example, we'll be building a Service Request Management app designed to handle customer service requests and internal support tickets.
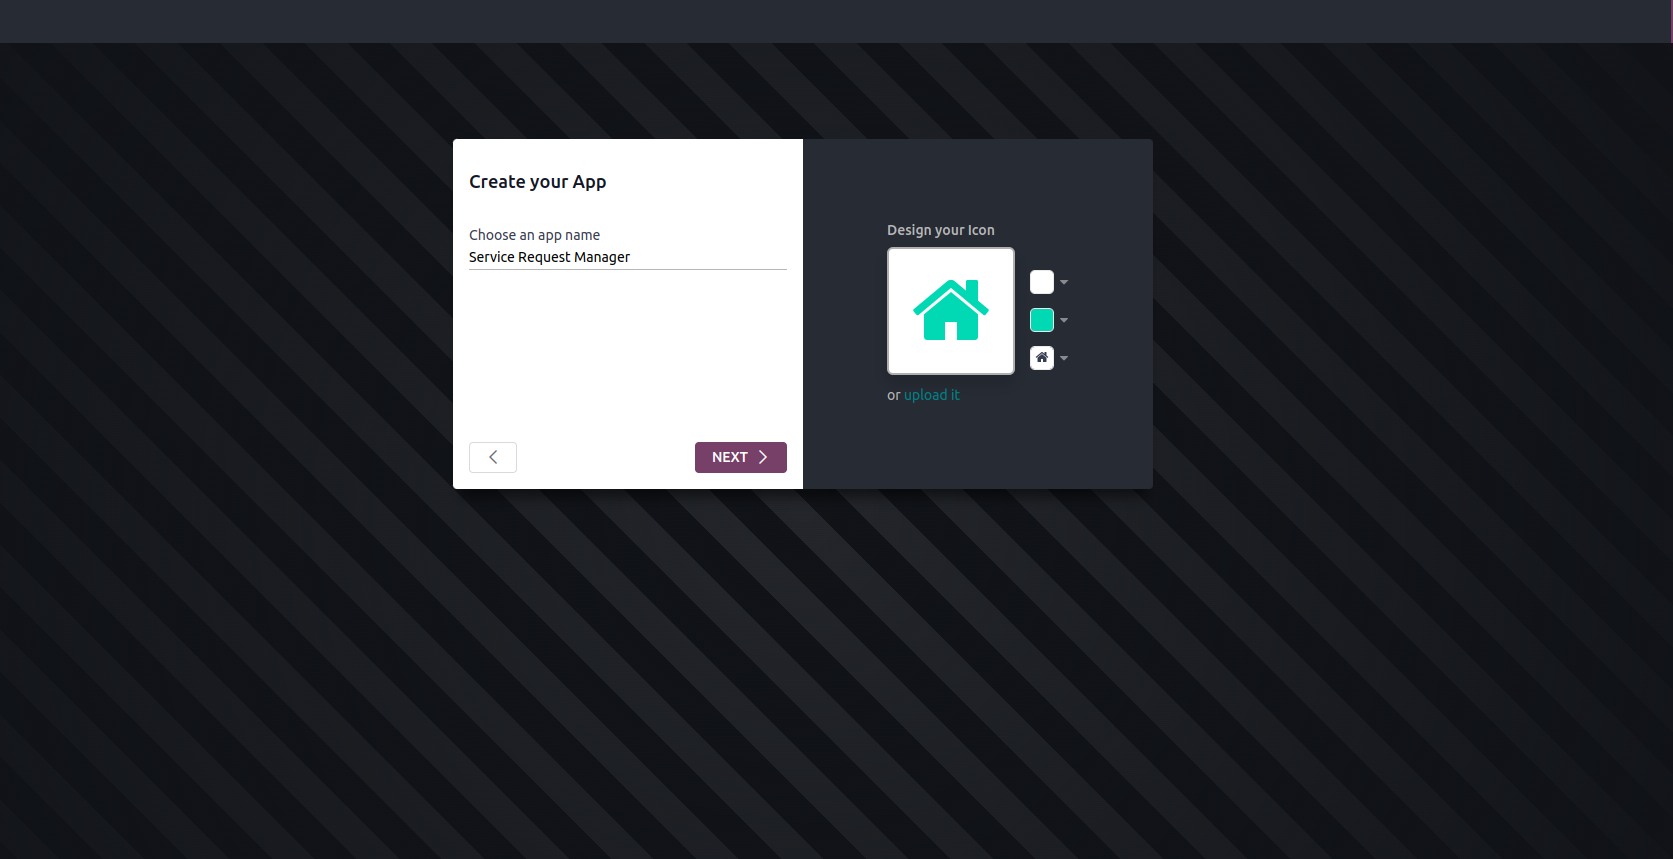
You’ll be prompted to provide an application name and select or design an icon. Here, we’ll name our application "Service Request Manager" and choose a custom icon that represents our service operations.
After naming your application, you'll move to the next step, where you can create your first menu item and associated model. In our case, the first menu will be called Service Requests, and we’ll set up a corresponding model, which will be responsible for tracking service requests.
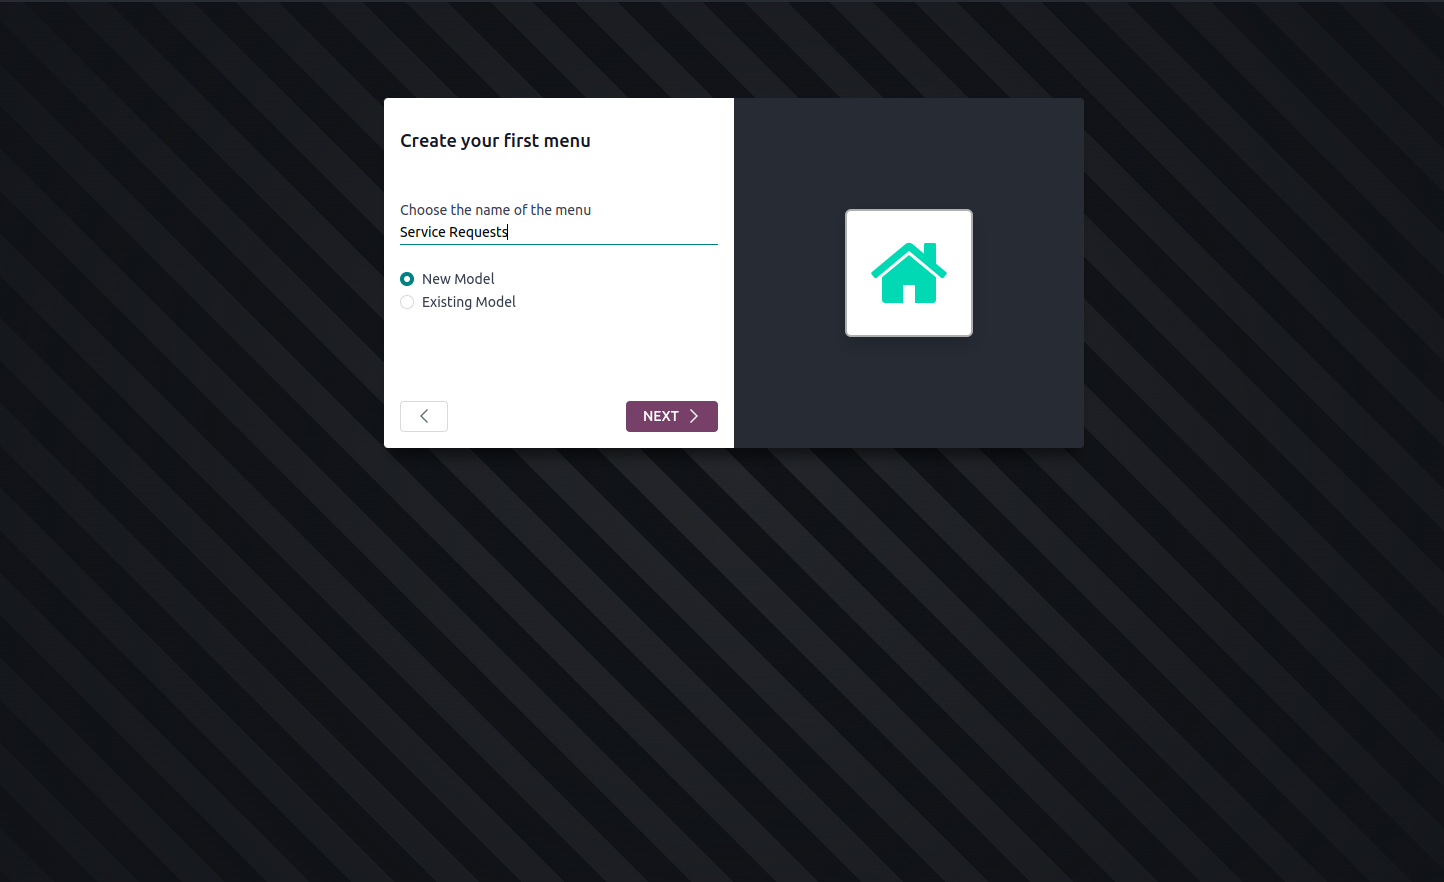
You can choose between creating a New Model or linking to an Existing Model. For our purpose, we'll create a new model called x_service_request to store all service request data.
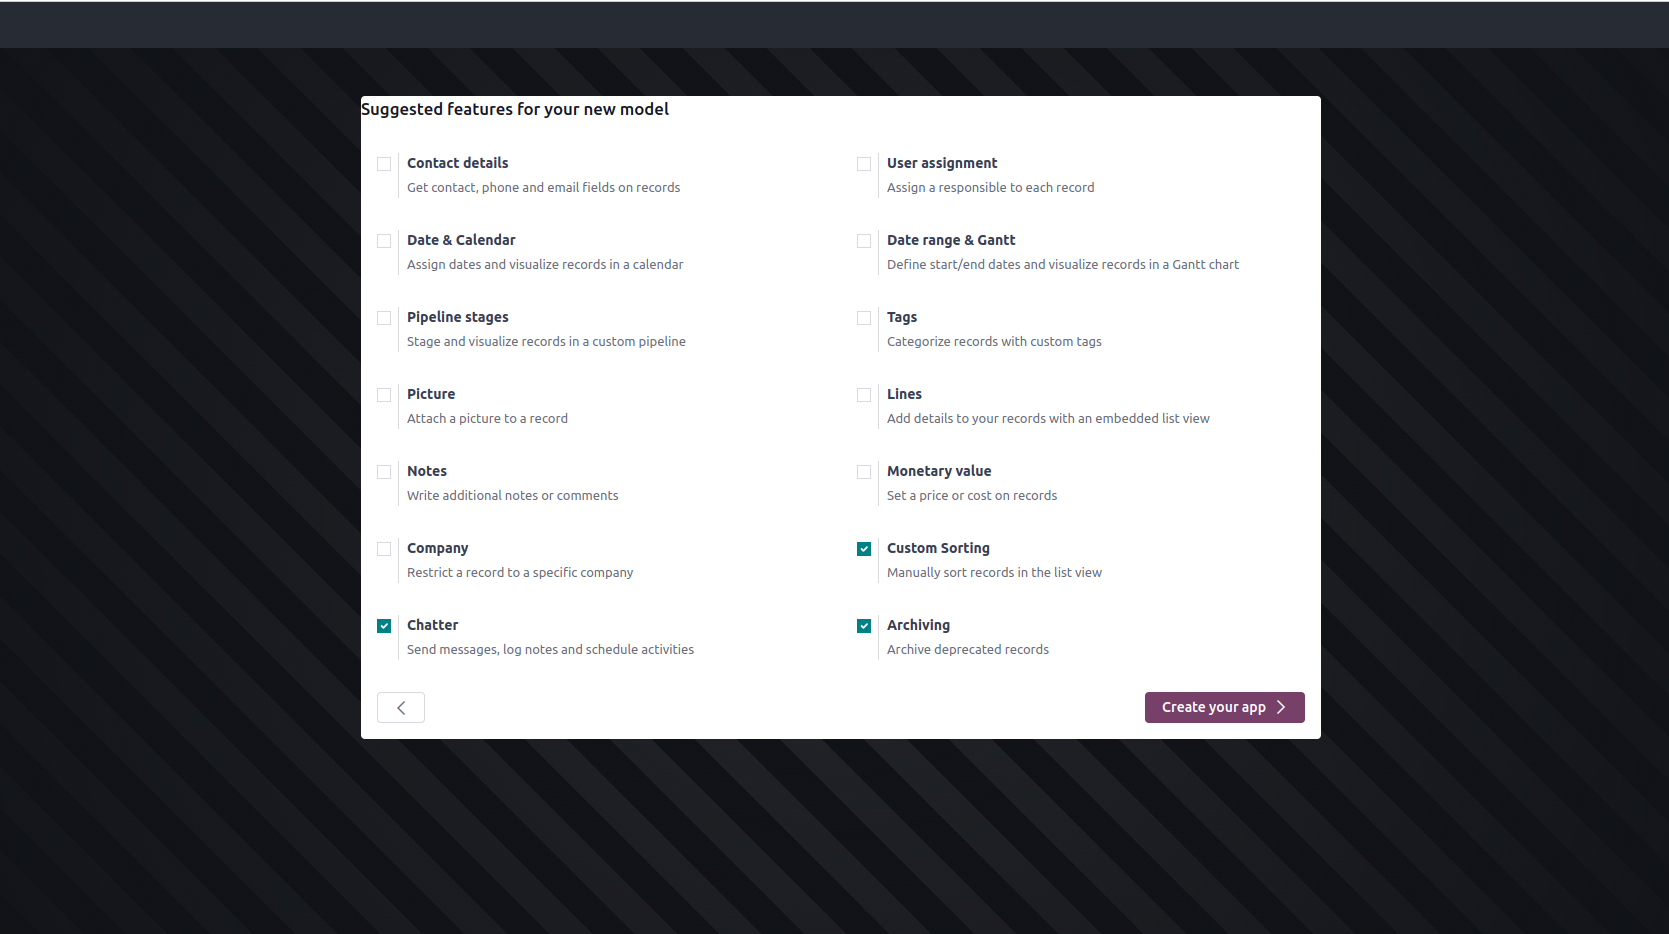
In the "Suggest Features for Your Module" window, Odoo Studio offers a range of suggested enhancements to help you optimize your application. This feature provides tailored recommendations based on common needs and best practices, ensuring your module is well-equipped for efficient service request management. Here’s what you can explore:
Contact Details: Add fields for collecting and managing detailed contact information, such as customer phone numbers or email addresses, to improve communication and support.
User Assignment: Enable features to assign tasks or service requests to specific users or teams, ensuring accountability and streamlined operations.
Date & Calendar: Integrate date fields and calendar views to track request deadlines, schedules, and appointment timings effectively.
Pipeline Stage: Utilize stages to track the progress of service requests from submission to resolution, providing clear visibility into current statuses and workflow stages.
Tags: Implement tags to categorize and filter service requests based on type, priority, or other relevant criteria, making it easier to manage and retrieve information.
Picture: Include image fields for visual documentation, such as photos of issues or service areas, to enhance context and understanding.
Lines: Organize information into lines for detailed data entry and management, allowing for structured and comprehensive record-keeping.
Notes: Add note fields for additional comments or instructions related to service requests, ensuring all relevant details are captured.
Monetary Value: Track costs or charges associated with service requests, enabling financial management and reporting within the module.
Company: Define the company or department associated with each request, useful for multi-organization setups or departmental tracking.
Custom Sorting: Set up custom sorting options to view and manage service requests based on your preferred criteria, enhancing data organization and accessibility.
Chatter: Use the Chatter feature for internal discussions and updates related to each request, facilitating collaboration and communication within your team.
Archiving: Archive completed or closed requests for future reference and reporting, ensuring that historical data is preserved and accessible.
Explore these suggested features to build a comprehensive and effective service request management application tailored to your organization’s needs.
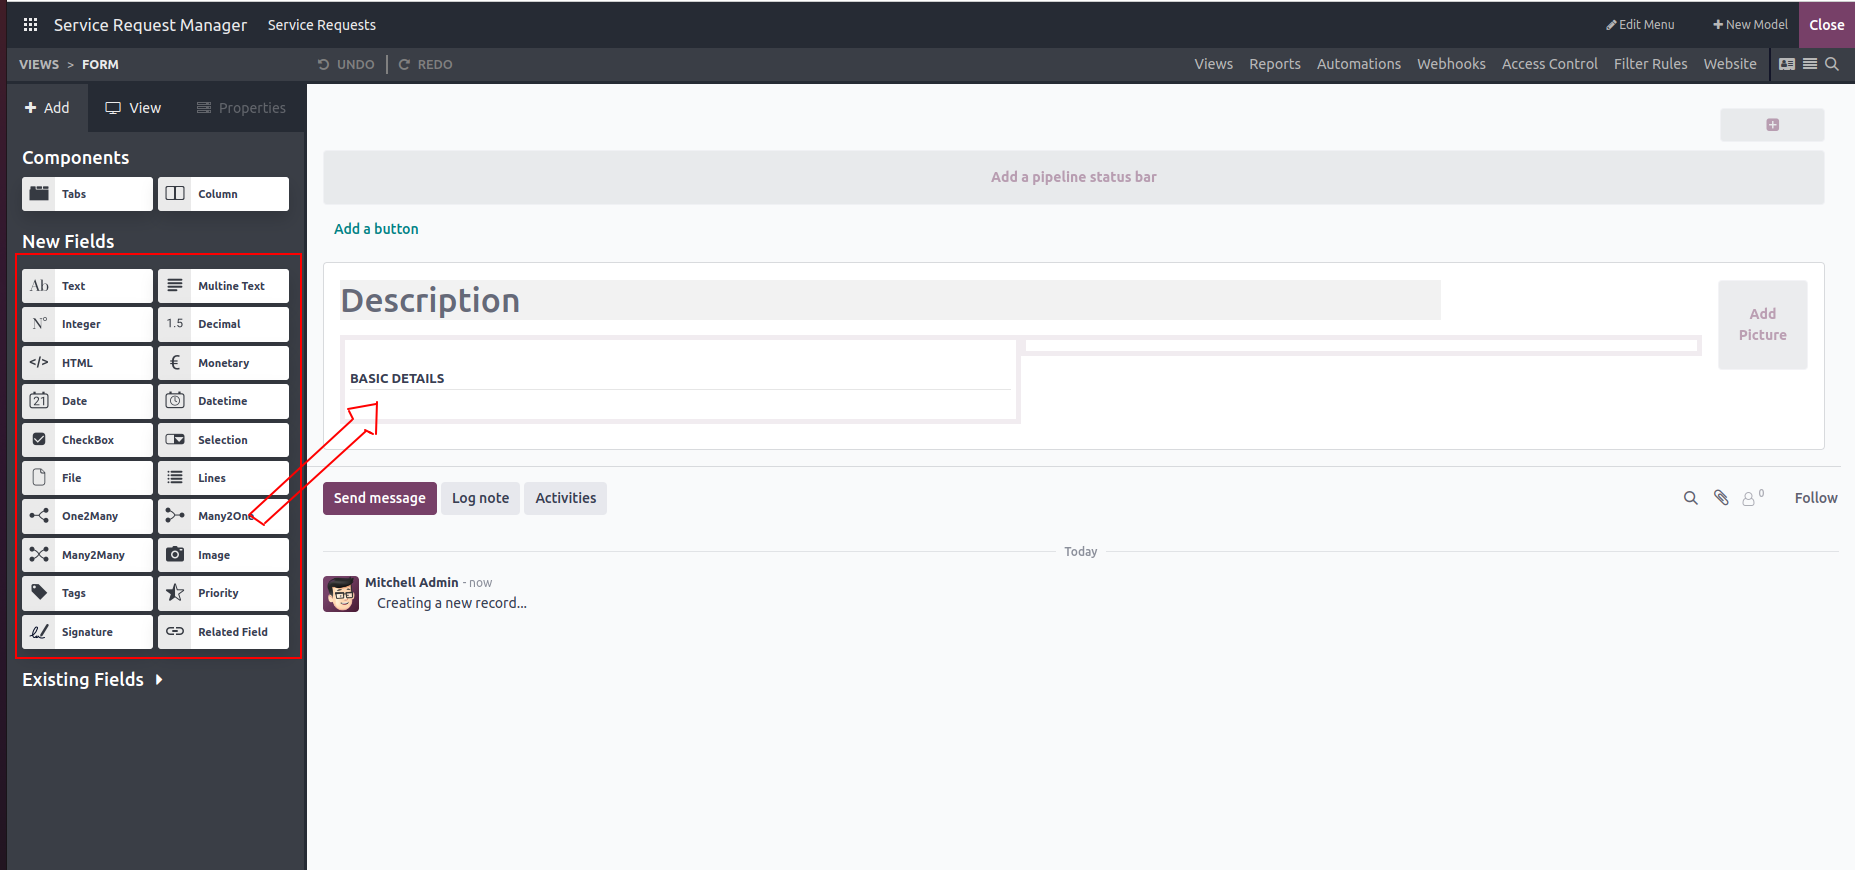
Once the model is created, you’ll be directed to a form view where you can add custom fields to capture the relevant information. For our service request application, we might want fields such as:
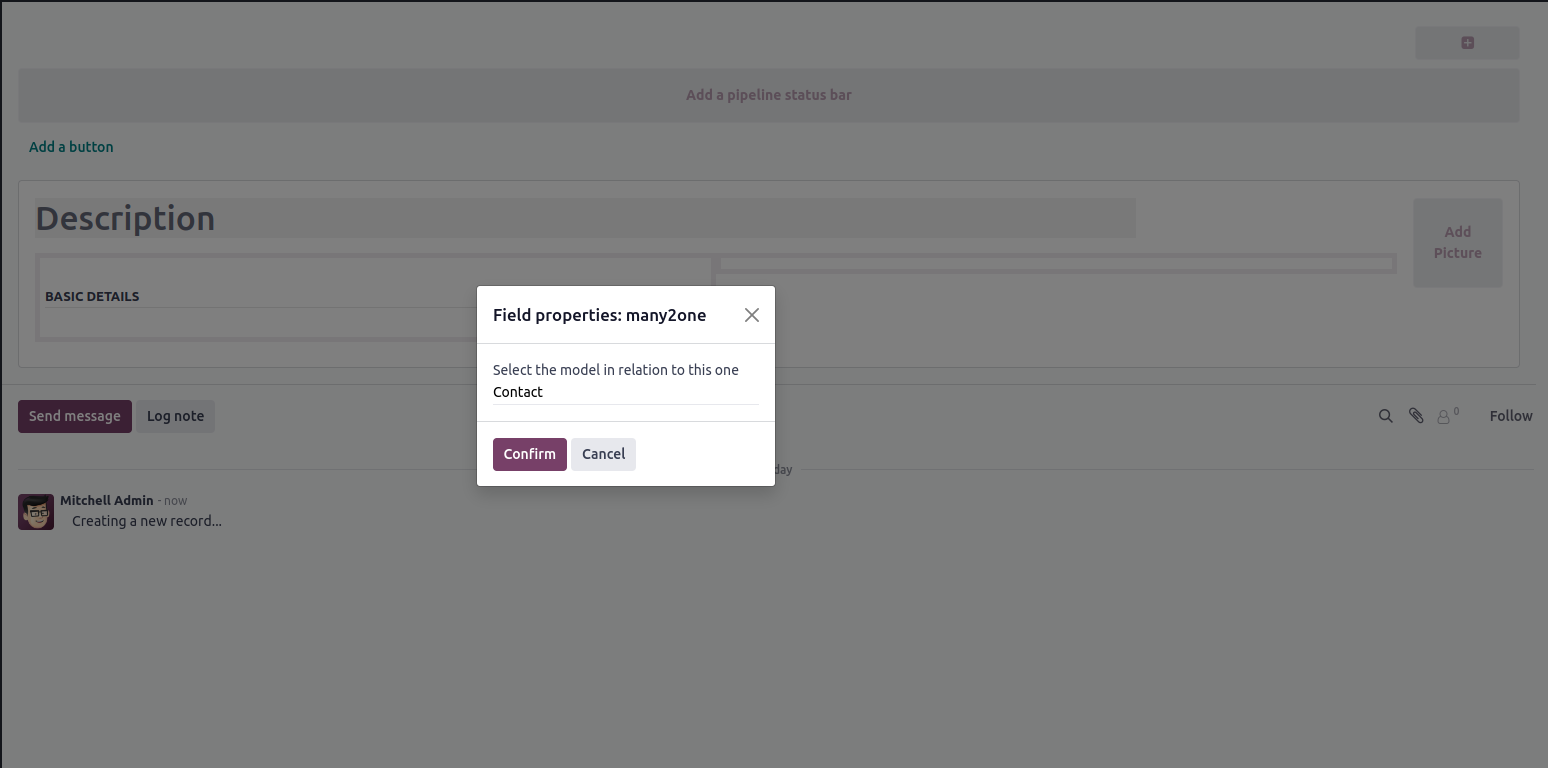
Customer Name (Many2one field linking to the customer model)
Service Type (Selection field: Support, Repair, Consultation, etc.)
Request Date (Date field)
Assigned Employee (Many2one field linking to the employee model)
Request Status (Selection field: New, In Progress, Completed)
Description (Text field for details)
Drag and drop these fields into the form, and customize them according to your needs. You can also add Automated Actions like sending notifications when a request status is updated.
Choose "Res Partner" or the relevant customer model as the related model
After placing the field, the properties panel on the right will allow you to configure it in several ways. First, you can set the field's label, which determines how the field will be named and displayed to users. You can also adjust other attributes like field size, placeholder text, and help tips to enhance usability. Additionally, configure the visibility settings to control where and when the field appears in different views. Finally, set the field’s required status to indicate whether it must be filled out before a form can be submitted, and define default values to automatically populate the field when creating new records.
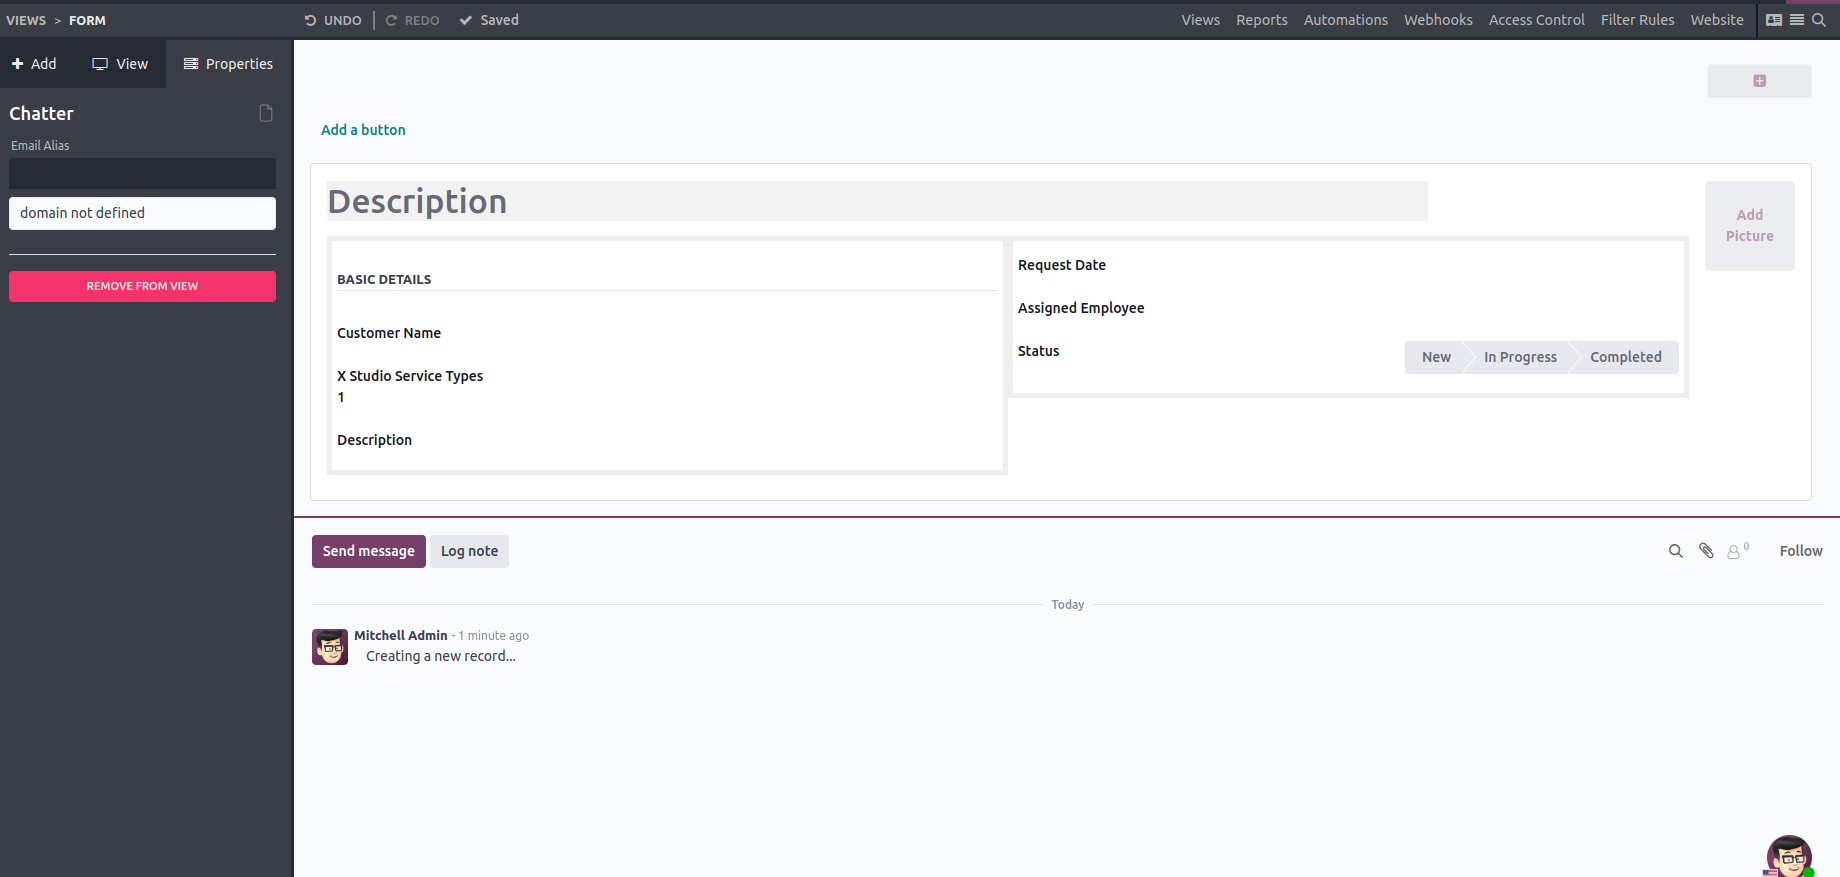
As an experienced odoo implementation company Technaureus can help you with these customizations, ensuring that every aspect of your workflow is accounted for.
With your fields in place, you can use Odoo Studio to automate workflows. For instance, when a new service request is created, you can automatically assign it to an employee based on service type, or send a notification to the customer confirming receipt of their request.
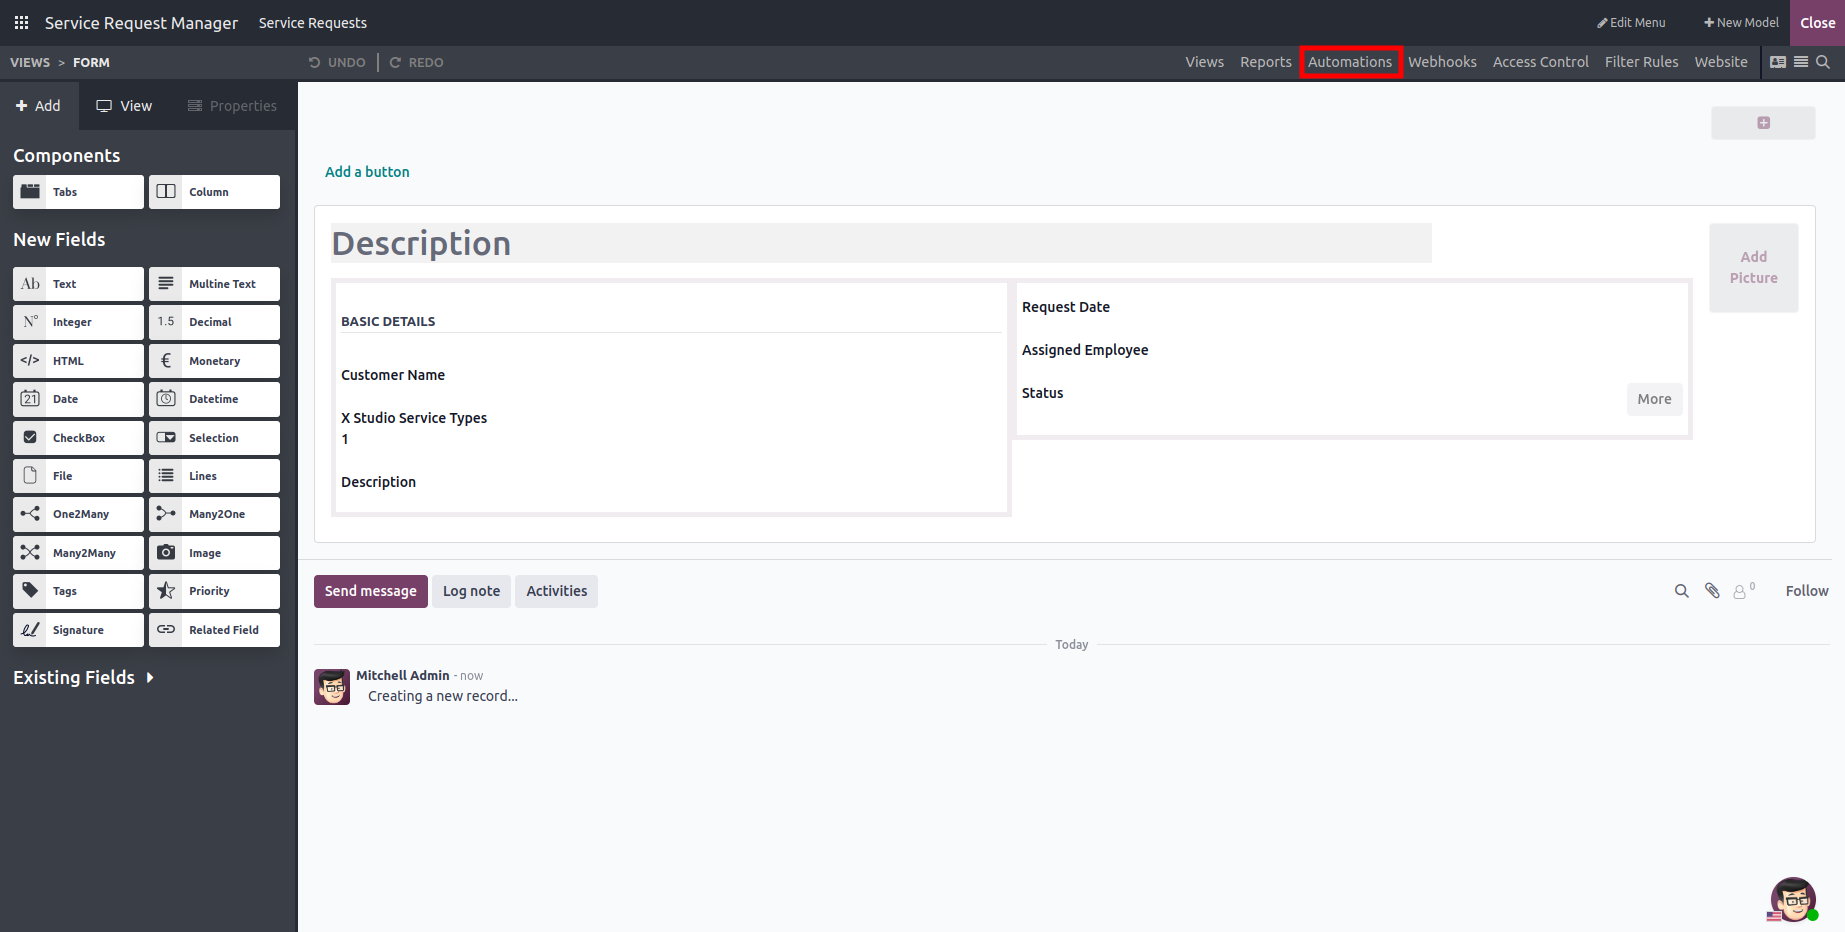
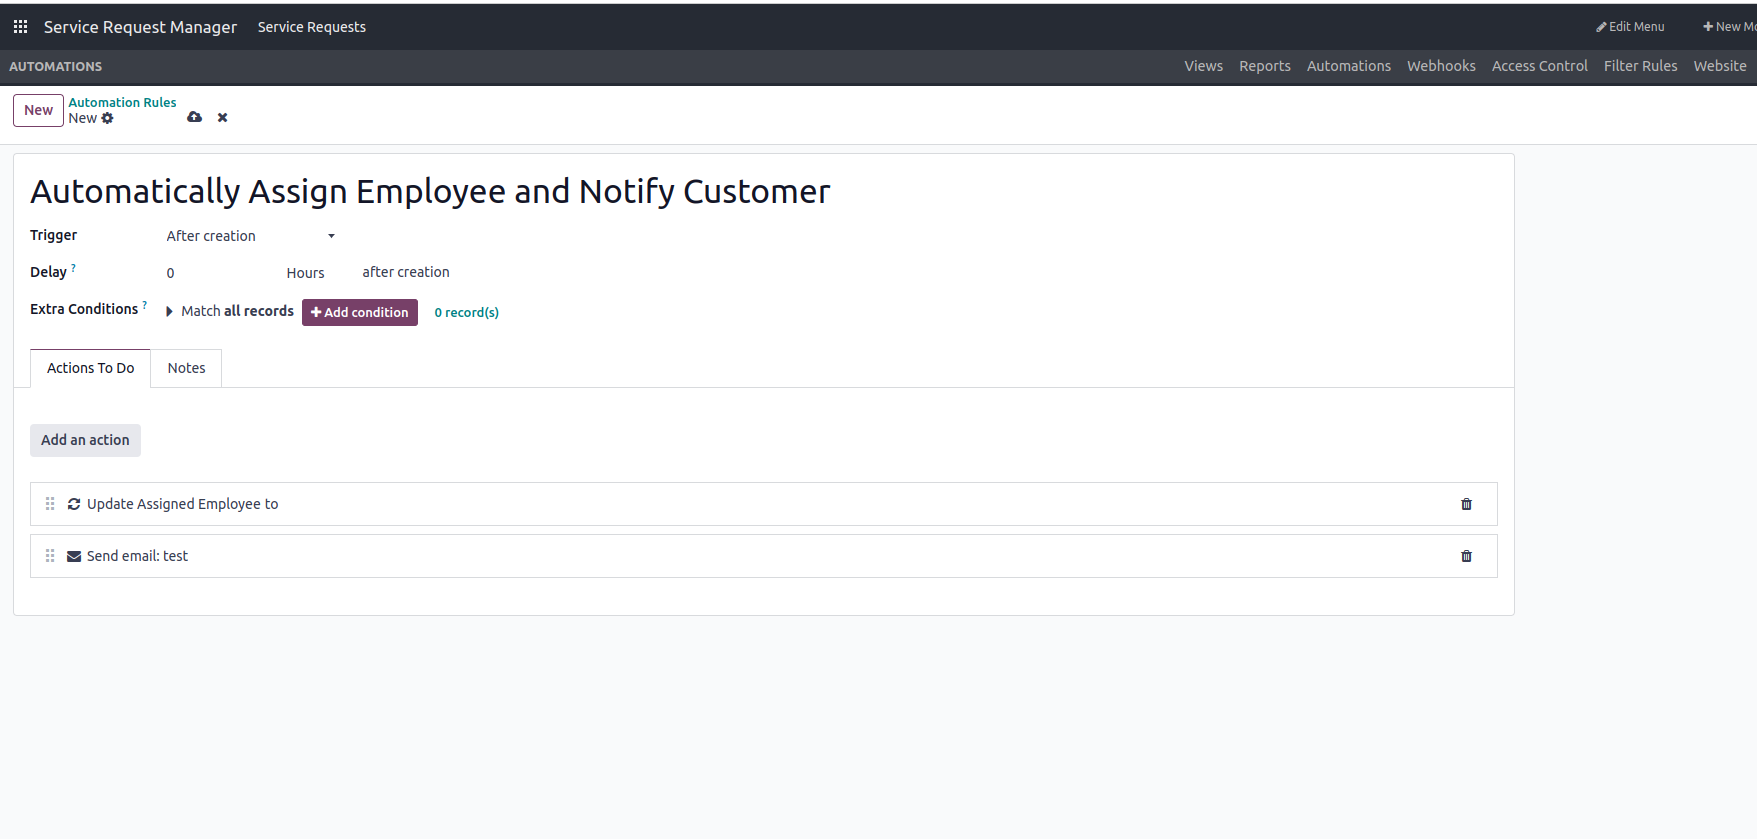
To set up workflows, simply click the Automated Actions option in Studio. Here, you can configure triggers and actions, such as:
Auto-assign service requests to specific teams based on the type of request.
Send automatic email notifications to customers when their requests are updated.
Change the status of service requests based on activity or time elapsed.
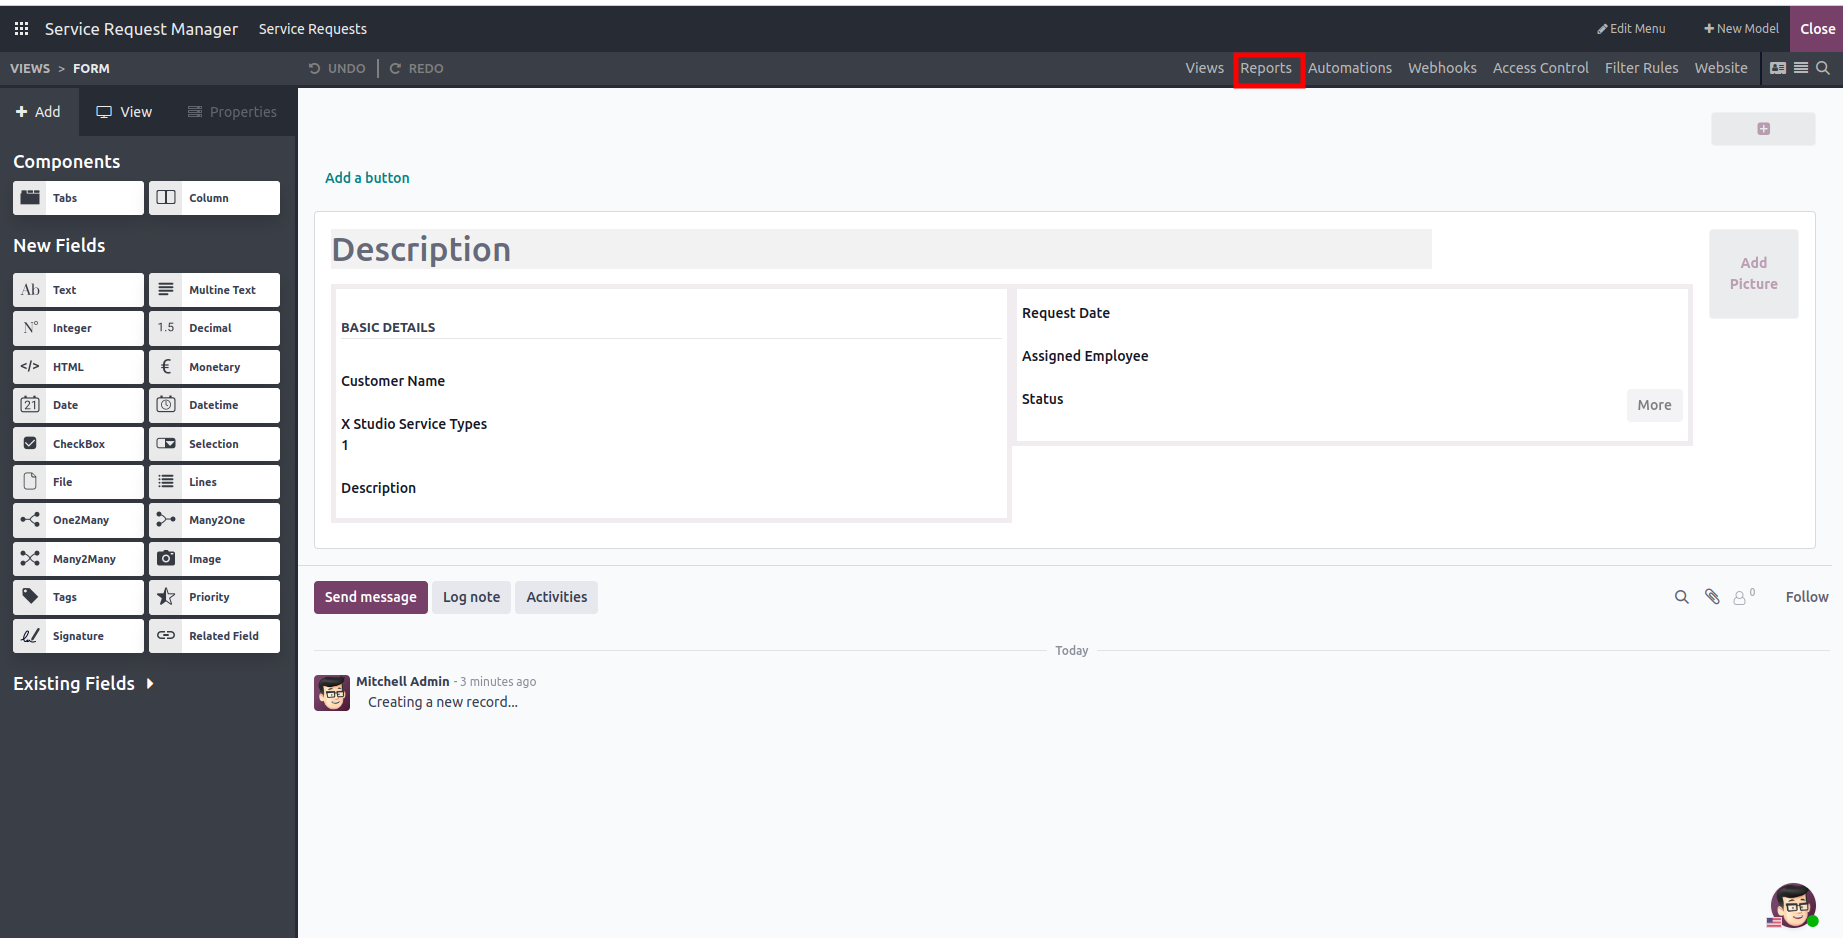
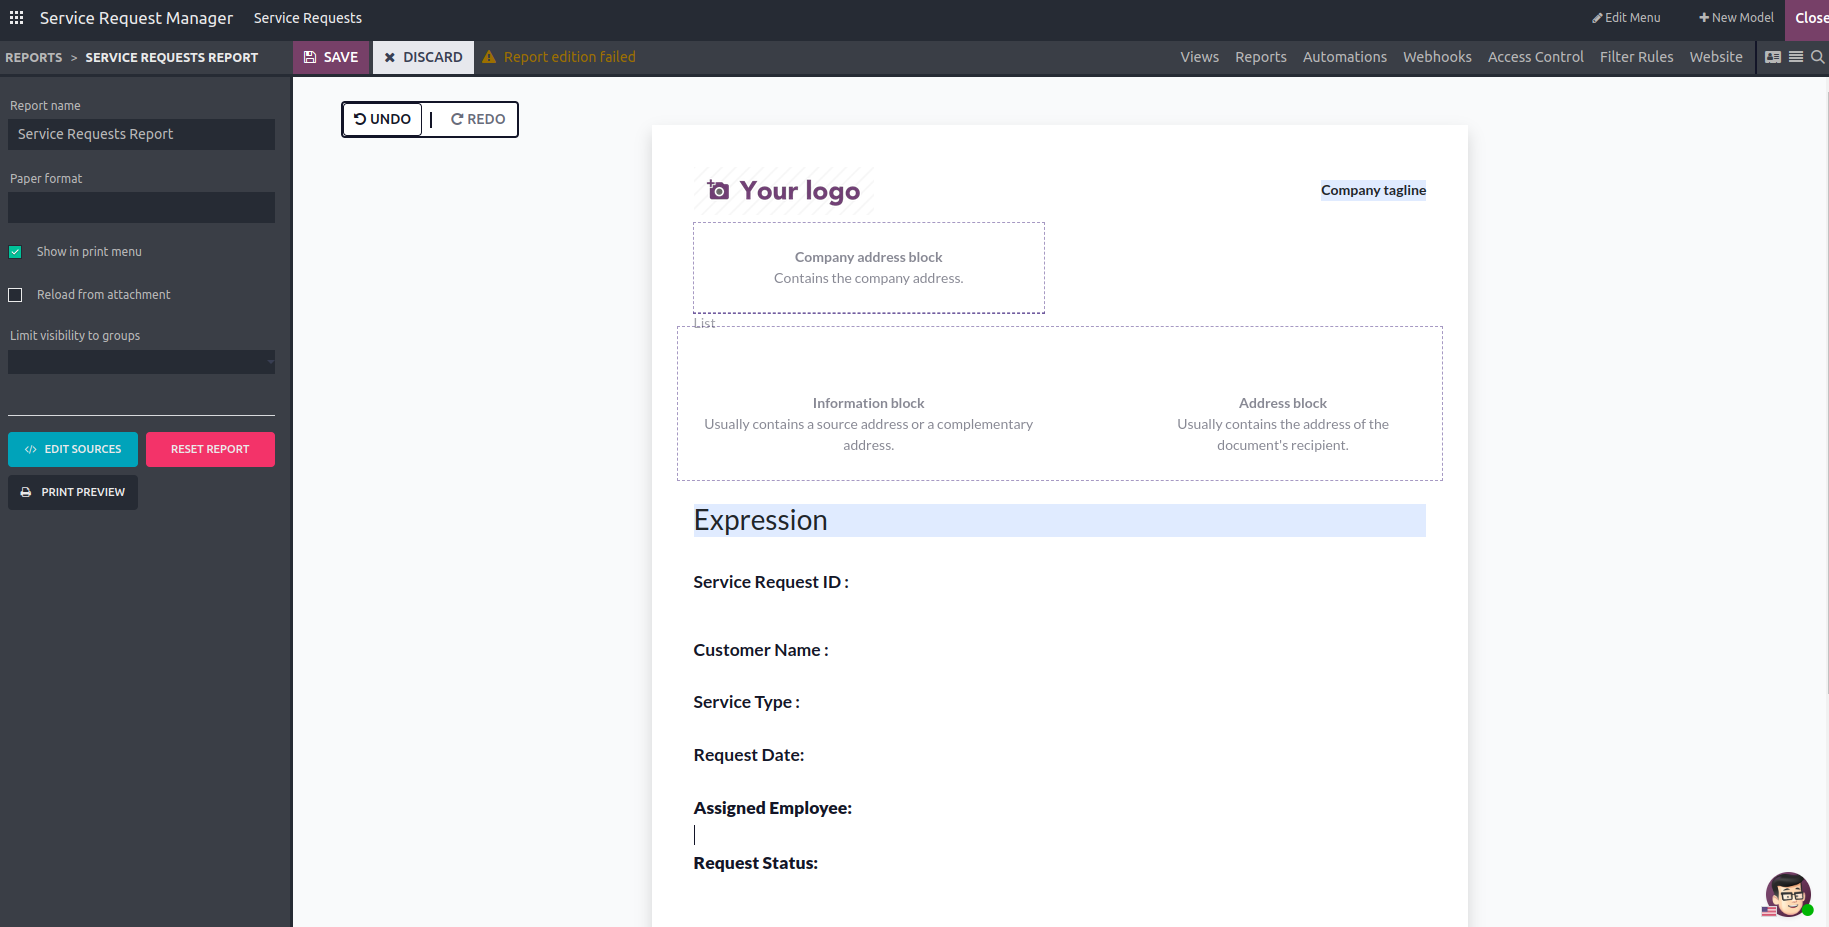
You can also create customized reports to track service requests and monitor performance. Use the Report Builder in Odoo Studio to generate service performance reports, showing metrics like average resolution time, service request volume, and more.
When setting up a new report in Odoo Studio, the first decision you'll make is selecting the type of report you wish to create.
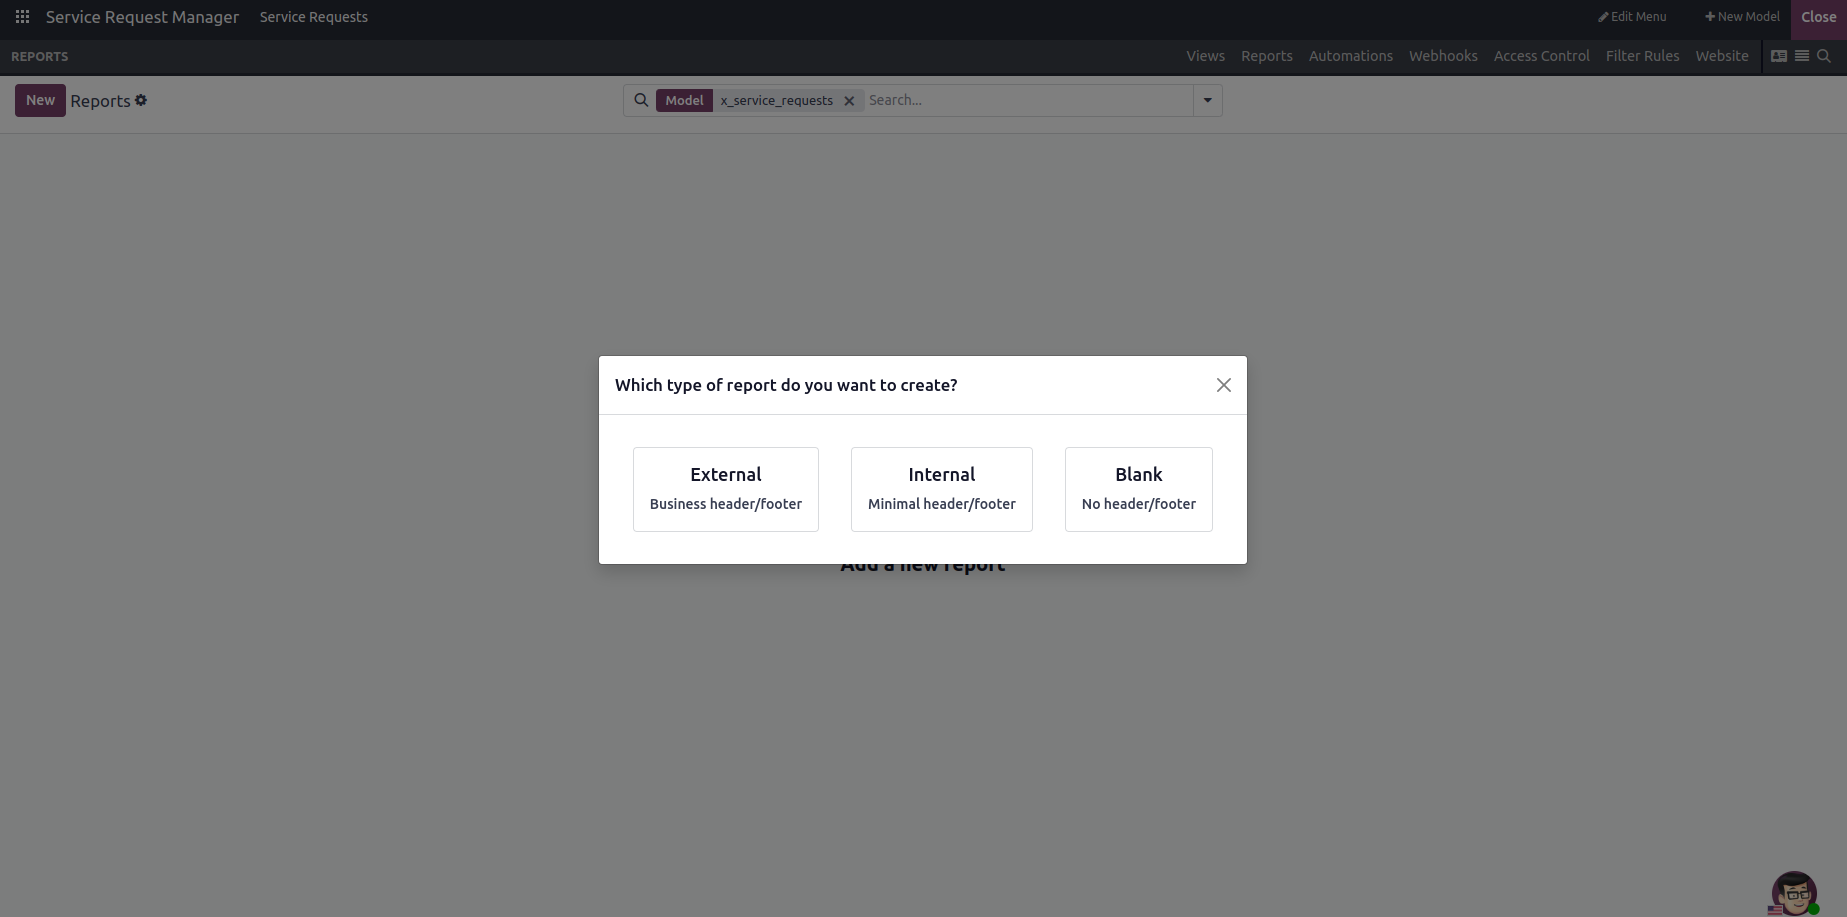
Name your report appropriately, such as "Service Request Summary Report,". Your report layout by adding and arranging fields such as Service Request ID, Customer Name, Service Type, Request Date, Status, and Assigned Employee.
After you’ve designed your application, set up workflows, and created reports, you can finalize your application by clicking the Save button. Your new Service Request Manager app is now live and available to users across your Odoo 18 system.
Users can now start submitting service requests, and the app will handle the workflow automations you’ve set up, ensuring efficient processing and management of every request.
Odoo Studio in Odoo 18 is an incredibly powerful tool for building custom applications tailored to your business needs. From designing simple forms to creating complex workflows and reports, Studio makes it possible to create and manage applications without needing to write code. By following the steps outlined in this blog, you can build your own Service Request Management app or any other custom application suited to your business processes. Studio is all about flexibility, ease of use, and customization, making it a must-have for any organization using Odoo 18.
As a leading Odoo customisation company , Technaureus is committed to helping you maximise the potential of Odoo 18 for your business. Whether you need assistance with customization, workflow automation, or app development, we are here to help you succeed.


0